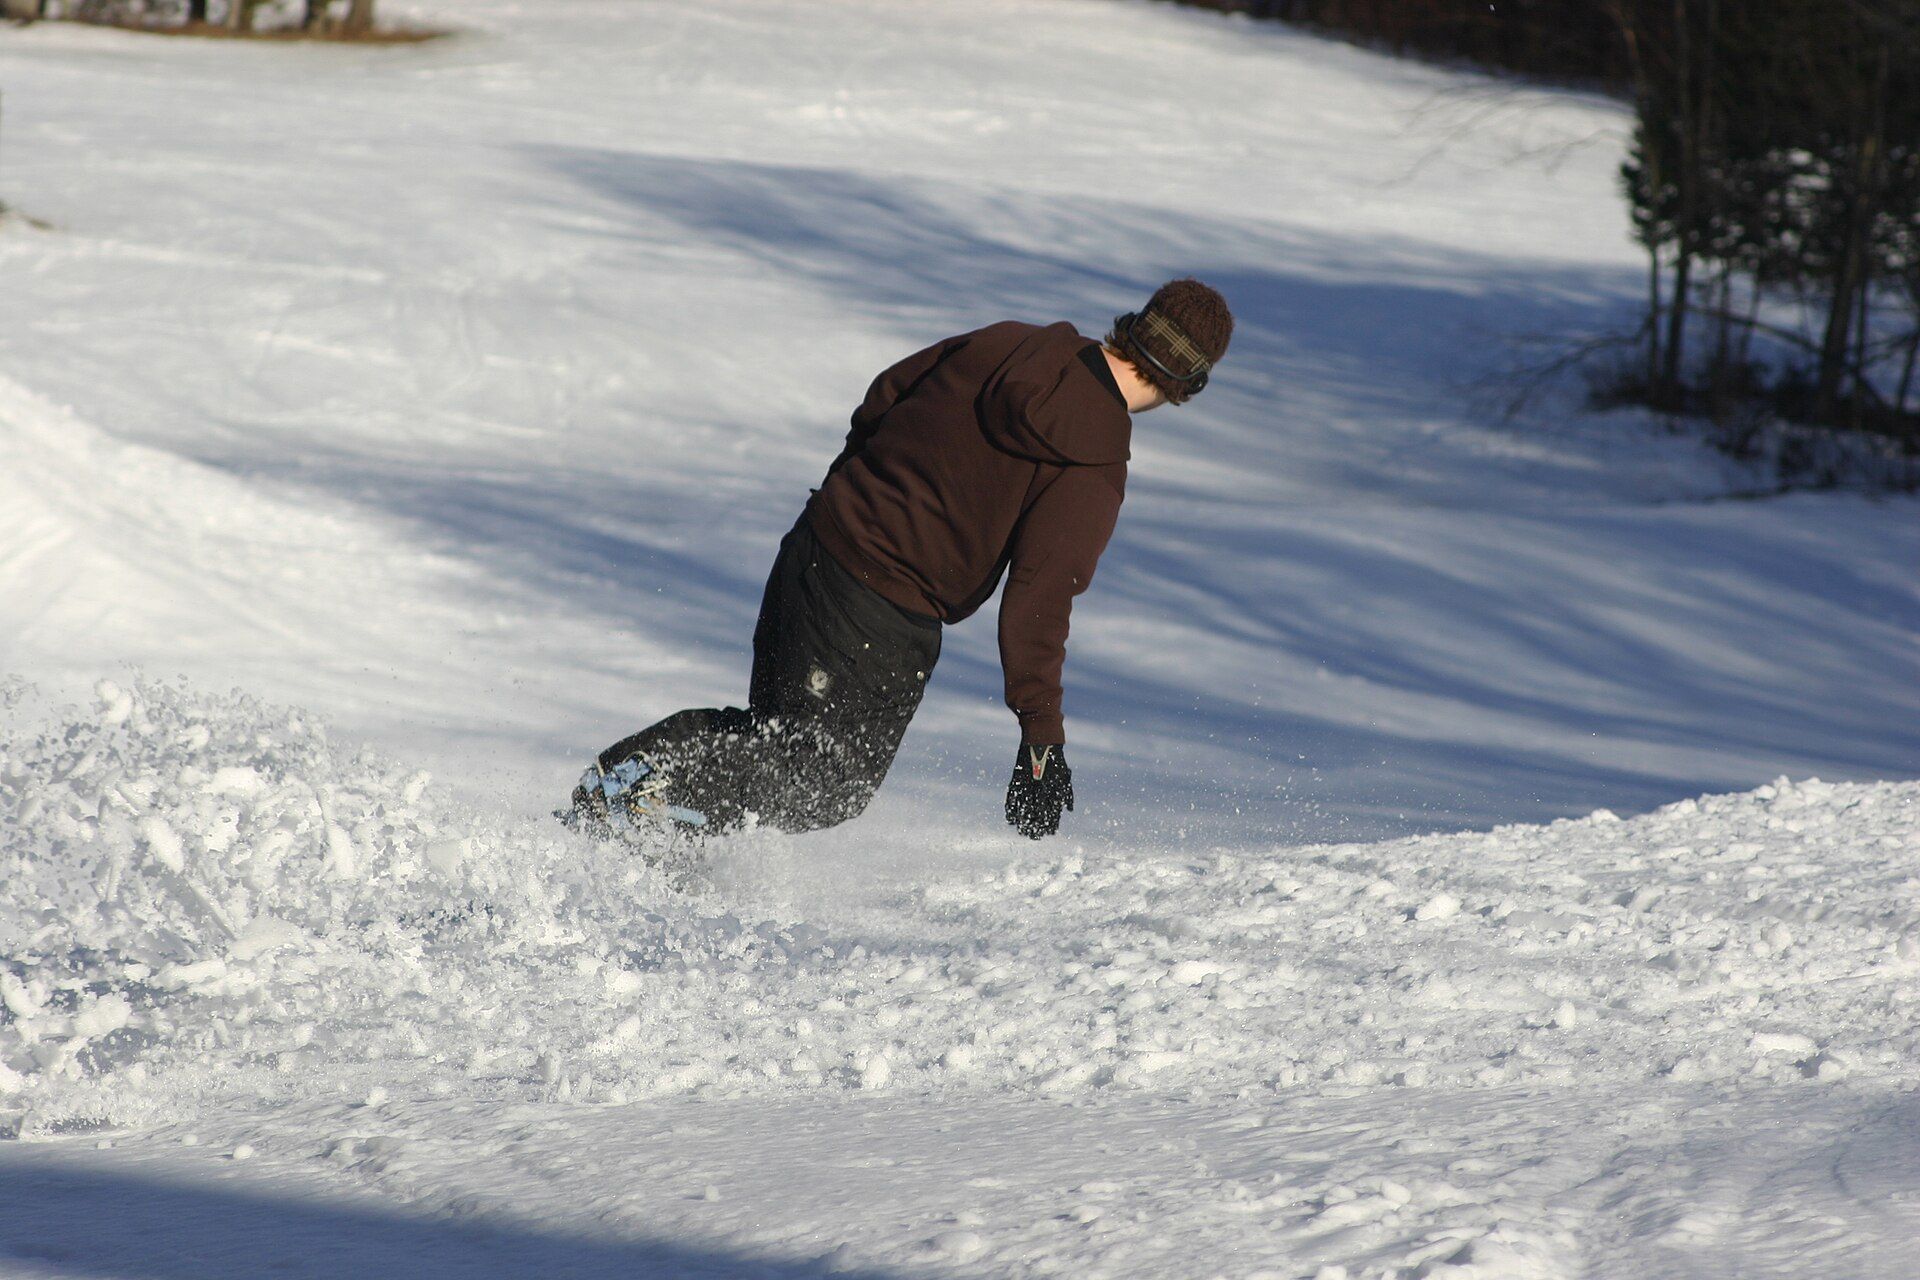
A carve asks the edge to draw a clean arc; a skid lets the board rotate and brush speed. Both are useful tools.
Photo: grendelkhanLicenseCarving or skidding? Read the track
A skid is a volume knob. A carve is a rail line. The mountain demands both—and the track behind you tells the truth.
Let the track grade the turn
A carved turn leaves a narrow, clean line because the edge travels through the snow with little sideways displacement. A skidded turn leaves a wider brushed track because the board moves sideways as well as forward. Between them sits a useful gripped turn: mostly guided by the edge, with enough skid to control speed.
Skidding is not failure. You need it for crowded pistes, tight entrances, rough snow and emergency speed control. Carving is one tool for open, predictable terrain—not the final form of every turn.
Carved versus skidded
The difference is edge angle, and you can read it in the snow
Same slope, same rider, two different turns. The cross-section shows how far the board is tilted; the track below shows what each one leaves behind.
Skidded turn
Low edge angle — roughly 10° to 25°
The board is steered across its own direction of travel. The tail follows a wider path than the nose, and the base scrapes snow sideways through the arc.
- Track
- A wide, brushed band of scraped snow
- Speed control
- Speed is shed by scraping. That is why a skidded turn is the right tool when you need to slow down, and why it is the first turn everyone learns.
- How it feels
- You can hear it. A skid hisses and rumbles, and you feel the board washing under your feet rather than running on a rail.
- Use it when
- Steep, narrow, crowded, icy, unfamiliar — anywhere you need to control speed more than you need to carry it. Every rider skids, including good ones. It is a skill, not a failure.
Carved turn
High edge angle — roughly 40° and above
The board is tilted far enough that its sidecut and flex bend it into an arc, and it travels along that arc. The tail passes through the same line the nose cut.
- Track
- Two thin pencil lines, one from each edge
- Speed control
- Speed is managed by turn shape, not by scraping. To slow down you finish the turn further across the hill; a carve on a shallow line keeps almost all of its speed.
- How it feels
- Quiet. A clean carve makes very little noise, and the board feels like it is being held on a track rather than pushed around.
- Use it when
- Open, smooth, uncrowded groomers with room to run out. Carving needs space and speed, so it comes after reliable skidded turns, not instead of them.
Neither turn is the better one. A skid that you chose is control; a skid you did not choose is a turn getting away from you. Most riding on most days is somewhere between the two.
Check the prerequisites before chasing angles
You should already be able to link round turns on both edges, stop quickly, regulate speed with turn shape and hold a traverse without the board washing away. A tuned edge, well-fitted boots and bindings centred over a suitable board width help the board respond consistently.
Choose a wide, mellow groomer with good visibility and light traffic. Carving carries speed across the hill, so the safest learning slope is often gentler than the terrain you normally skid down.
Remove the movements that smear the track
Malcolm Moore’s eight-step progression starts by removing counter-rotation and finding a stable snowboard posture. If the shoulders rotate hard one way while the legs twist the board the other, the tail breaks loose and paints a wide spray.
Keep the torso calm and allow the ankles, knees and hips to tip the board. Stay flexed enough to absorb texture. Think “move with the board” rather than trying to pose low enough to touch the snow.
- Shoulders broadly follow the board
- Hands stay quiet instead of swinging across the nose
- Knees move laterally to build edge angle
- Pressure stays through the whole foot, not only the heels or toes
Heel edge, toe edge, flat base
Heel edge
The base tilts up on the toe side and the metal edge under your heels bites the snow. This is the edge most people learn to stop on, and the one most people ride badly for longest.
- Movement
- Lift the toes inside the boot and press the heels down. The ankles close, the knees stay bent, and the hips move down and only slightly back — as if sitting onto a low stool placed directly beneath you, not one behind you — while the chest stays tall and facing across the board.
- Common error
- Folding at the waist instead of the hips. The backside goes out, the shoulders drop toward the snow, and the weight lands behind the tail, so the edge chatters instead of holding.
- Check
- You should be able to lift your toes and still feel even pressure along the whole heel edge, from front foot to back. If only the tail is gripping, you are behind the board.
Toe edge
The base tilts up on the heel side and the edge under your toes bites. It usually feels stronger than heelside because the ankle is a better lever pushing forward than pulling back.
- Movement
- Drive the shins into the front of the boots and press through the balls of the feet. The knees travel forward over the toes, the hips come forward with them, and the body stays stacked over the edge rather than leaning into the hill.
- Common error
- Pushing only the knees in and leaving the hips back. The body folds into a Z-shape, pressure drops off the nose, and the board slips instead of holding.
- Check
- A straight line from your ear through your hip to the working edge means you are stacked. If your backside is trailing behind that line, the hips have not come with the knees.
Flat base
Both edges clear of the snow. This is a moment to pass through between turns, not a place to sit — a flat board on a slope goes wherever the terrain sends it.
- Movement
- The board returns to level under a quiet, centred body as one turn releases and before the next one is guided. On a slope it lasts a fraction of a second.
- Common error
- Riding flat and straight on anything steep enough to accelerate, which is how beginners find themselves going faster than they can steer.
- Check
- If a flat base ever feels like a resting position, the slope is too steep for the edge control you have right now. Move somewhere gentler.
Find one pencil line at a time
Begin with a gentle traverse. Build just enough edge angle to hold the line, then stop and look uphill at the track. Repeat on toe edge and heel edge. When both leave narrow marks, add shallow garlands: tip into a small arc and return to the same edge without completing a full turn.
This isolates edge grip from the complexity of linking. If the track gets wide, reduce the steering effort, choose smoother snow or lower the speed. One clean arc teaches more than a full run of hopeful sliding.
- Check uphill before every traverse
- Keep the first arcs shallow and predictable
- Look for a narrow line with no broad fan of spray
- Reset before crossing the full width of a busy run
Related lesson
Watch the movement.
This clip matches the guide. YouTube loads only when you press play.

Intermediate / Carving / 5:11
Skidding to carving in one run
By Malcolm Moore
First day / First day / 12:51
How To Snowboard - 8 STEPS TO CARVING
By Malcolm MooreMake the edge change smooth—and earlier
A carve needs the new edge to engage before the board has travelled deep into the new turn. Release the old edge progressively, pass through a flat board without a jump or shoulder throw, then establish the new edge while the board is still travelling across the slope.
Early does not mean abrupt. A sudden high edge angle can hook the board into a line you did not plan. Build the edge, let the sidecut begin the arc and stay mobile enough to adjust.
Grow the arc from the safe part of the hill
First carve across the slope. Then link shallow edge-to-edge arcs. Only after those tracks stay clean should you carve more of the turn before and through the fall line. As the board points downhill, speed and pressure rise; keep the legs supple and give the arc enough space.
Read every second or third track. If only toe-side is clean, isolate heel-side traverses. If the line starts thin and finishes brushed, the tail may be breaking away late because the rider is rotating, extending too suddenly or trying to scrub speed after committing to a fast line.
- Thin line all the way → the edge held through the arc
- Thin entry, wide finish → late skid or overload
- Repeated chatter → abrupt pressure, hard snow or insufficient edge hold
- Very tight hook → too much edge too soon for the speed and sidecut
Keep the skid in your pocket
Clean carving feels locked-in and powerful, which is exactly why it needs margin. Leave room downhill and across the slope, scan for riders entering from the side and abandon the carve when visibility or snow becomes unpredictable.
Do not carve blind rollers, narrow cat tracks or crowded return runs. A deliberate skid that protects another rider is better snowboarding than a perfect trench nobody expected.
Profile-led equipment
What carving asks of a setup
Carving loads the edge harder than skidding does, so a sharp edge and a boot that holds your heel matter more here than the model on the topsheet.
- Demo before buying · Useful nextOptional profile examplesSee market examples
All-mountain board demo shortlist
A broad category to test after rental days—not a claim that one brand, flex or profile works for everyone.
Check: Treat rider weight and boot-compatible width as non-negotiable, then demo different flex and camber or rocker profiles on the terrain you ride.Before buying: Board choice gets personal fast. Treat retailer results as a market scan, then talk to a good shop and rent or demo before committing.
- Fit + flex profile · Start hereOptional profile examplesSee market examples
Soft-to-medium snowboard boot profile
A forgiving category many learners can compare after establishing the right shell volume and heel hold.
Check: Fit in person with one thin snowboard sock; compare support, not just flex numbers, and reject numbness or sharp pressure.Before buying: This is a profile, not a product pick. A supportive medium boot may suit some beginners better than a very soft one, and flex scales vary by maker.
- Compatibility · Useful nextOptional profile examplesSee market examples
Snowboard bindings
Transfers boot movement into the board and holds your chosen stance.
Check: Match boot size, mounting system and board width; center toe and heel overhang. - Edge care · Optional progressionOptional profile examplesSee market examples
Edge-care kit
Removes light burrs and maintains predictable edge feel between shop services.
Check: Learn the correct angle first; major damage and base grinding belong with a technician.