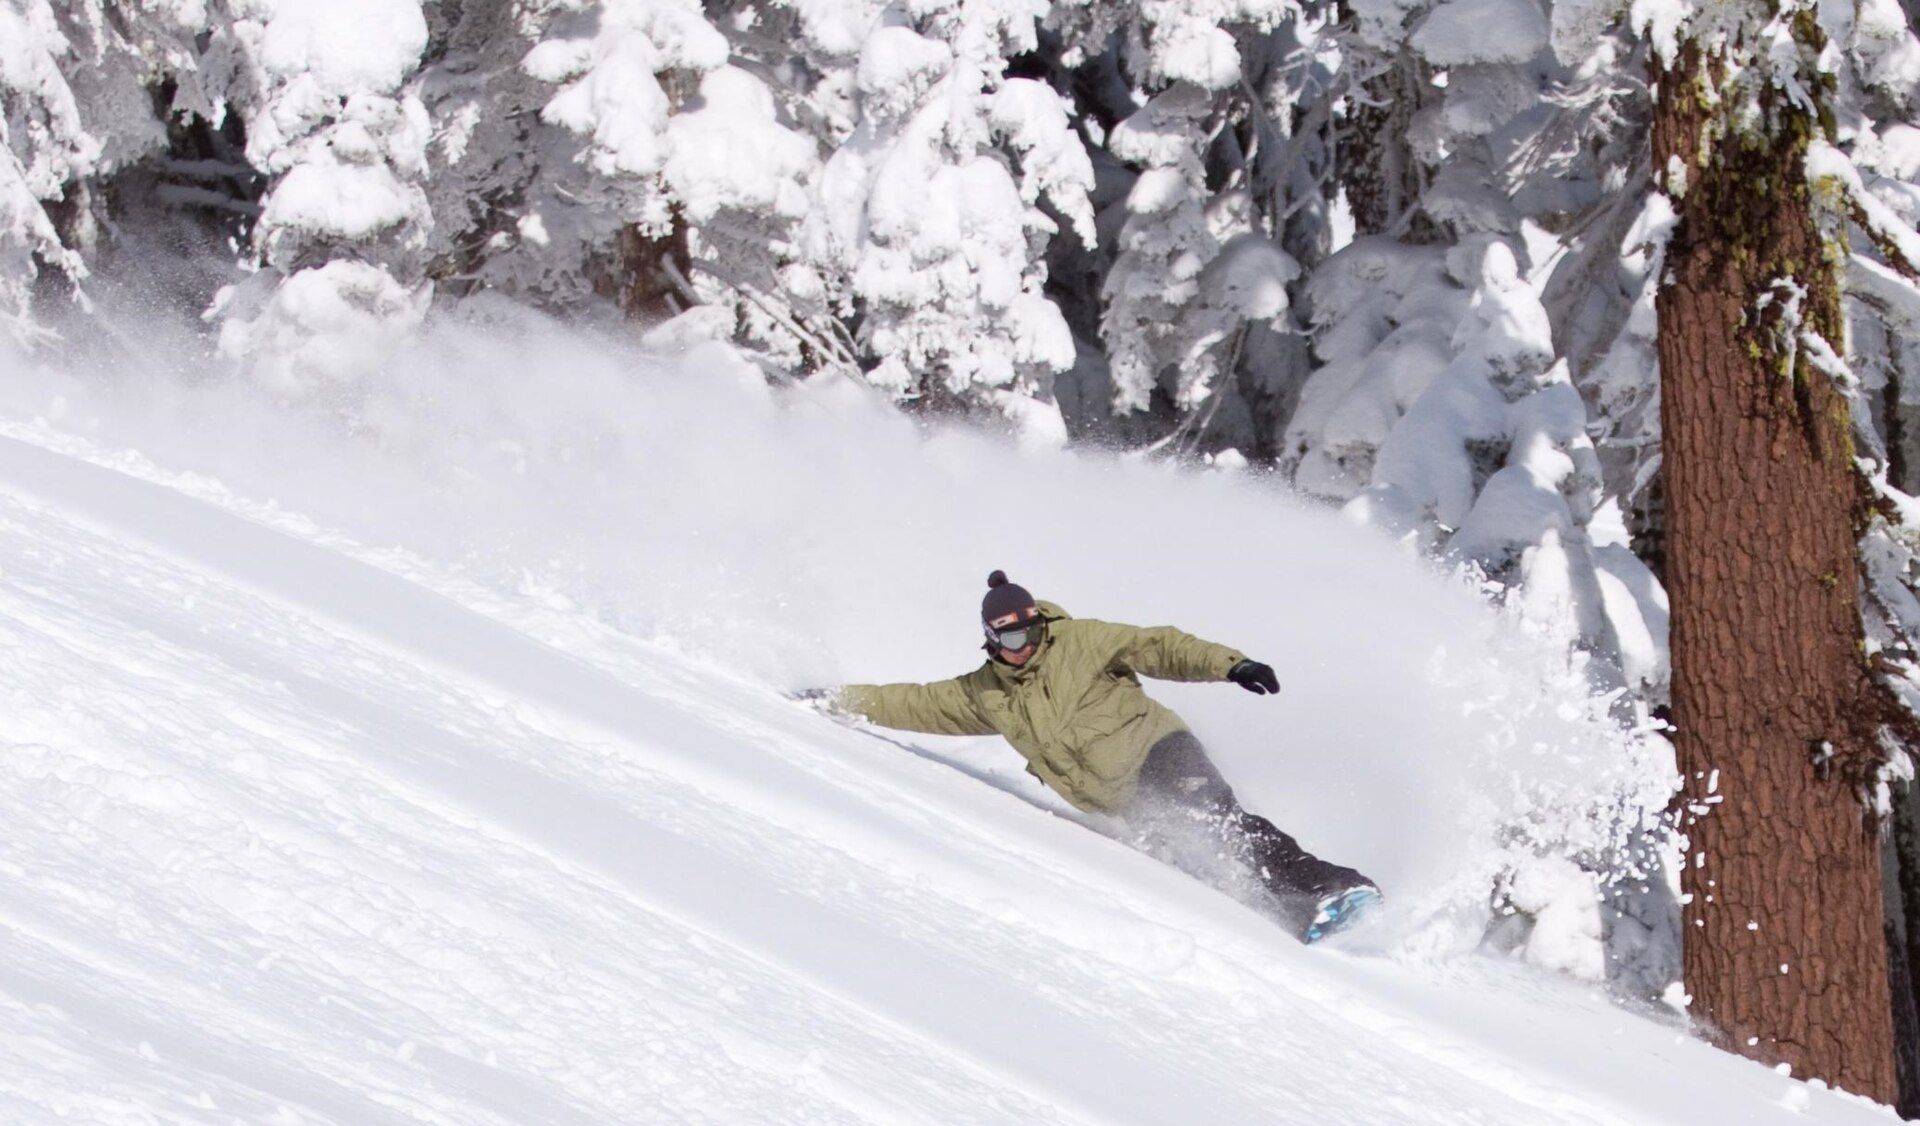
Linked turns come from a calm release, a patient edge change and a finish you can repeat on the next side.
Photo: Ripley119LicenseLink snowboard turns without rushing
A linked turn is not a faster falling leaf. Finish the arc, release the old edge and give the board enough time to find the next one.
Earn the edge change first
Before chasing S-turns, you should be able to side-slip and stop on heel and toe edge, make a J-turn in both directions and travel diagonally on either edge. Malcolm Moore’s real-beginner lesson spends most of its run time on those building blocks before linked turns appear. That is not filler; it is the control system.
Choose a wide beginner run with a consistent pitch. If the slope feels intimidating while standing still, it will feel much steeper during the moment the board points downhill.
Understand the four beats of every turn
First, finish the old turn across the slope so the board has already shed speed. Second, soften the legs and reduce the old edge angle. Third, allow the flatter board to enter the fall line. Fourth, build the new edge progressively and complete the next arc.
The board will accelerate in beats two and three. That brief surge is normal. Panic creates the classic beginner move: shoulders spin, the rear leg kicks the tail downhill and the board skids sideways. Stay with the arc long enough for turn shape to manage the speed.
- Finish: travel across the hill
- Release: soften the old edge
- Steer: let the nose enter the fall line
- Build: add the new edge and complete the arc
Heel edge, toe edge, flat base
Heel edge
The base tilts up on the toe side and the metal edge under your heels bites the snow. This is the edge most people learn to stop on, and the one most people ride badly for longest.
- Movement
- Lift the toes inside the boot and press the heels down. The ankles close, the knees stay bent, and the hips move down and only slightly back — as if sitting onto a low stool placed directly beneath you, not one behind you — while the chest stays tall and facing across the board.
- Common error
- Folding at the waist instead of the hips. The backside goes out, the shoulders drop toward the snow, and the weight lands behind the tail, so the edge chatters instead of holding.
- Check
- You should be able to lift your toes and still feel even pressure along the whole heel edge, from front foot to back. If only the tail is gripping, you are behind the board.
Toe edge
The base tilts up on the heel side and the edge under your toes bites. It usually feels stronger than heelside because the ankle is a better lever pushing forward than pulling back.
- Movement
- Drive the shins into the front of the boots and press through the balls of the feet. The knees travel forward over the toes, the hips come forward with them, and the body stays stacked over the edge rather than leaning into the hill.
- Common error
- Pushing only the knees in and leaving the hips back. The body folds into a Z-shape, pressure drops off the nose, and the board slips instead of holding.
- Check
- A straight line from your ear through your hip to the working edge means you are stacked. If your backside is trailing behind that line, the hips have not come with the knees.
Flat base
Both edges clear of the snow. This is a moment to pass through between turns, not a place to sit — a flat board on a slope goes wherever the terrain sends it.
- Movement
- The board returns to level under a quiet, centred body as one turn releases and before the next one is guided. On a slope it lasts a fraction of a second.
- Common error
- Riding flat and straight on anything steep enough to accelerate, which is how beginners find themselves going faster than they can steer.
- Check
- If a flat base ever feels like a resting position, the slope is too steep for the edge control you have right now. Move somewhere gentler.
Keep the body quieter than the board
Look along the path you want to ride, not at the nose. Keep the hands relaxed, the knees flexed and the torso broadly aligned with the board. The legs should create most of the steering and edge change while the upper body supplies a stable platform.
Quiet does not mean rigid. Ankles, knees and hips must move so your centre of mass can cross the board. If your shoulders turn first and your hips stay behind, the board usually follows late and sideways.
- Eyes scan the next open patch of snow
- Front knee helps guide the nose into the turn
- Rear leg supports the arc instead of kicking the tail
- Hands stay in your field of view without pointing or swinging
Use turn shape as the speed dial
A narrow turn aimed mostly downhill keeps speed. A round turn that finishes across the slope loses more speed. This is why “just lean back” never solves runaway turns: it makes the board harder to guide while the line stays fast.
On an easy piste, make the C-shape obvious. Let each turn use enough width to finish without crossing into other riders’ paths. Check uphill whenever you start, traverse or change your line.
Weight distribution
Where your weight sits along the board
Plan view, nose to the right. The bar shows how pressure is shared between the front and rear foot, and the figure shows where the hips end up.
Centred
Weight split close to even, a shade toward the front foot on a directional board. This is the position to return to between turns.
Both ends of the edge work, so the board holds a line and responds when you ask it to.Starting a turn
A moment more pressure over the front foot as the new edge goes in, so the nose engages and starts drawing the arc.
The turn begins from the front of the board instead of being twisted from the back.Deep snow
Deliberately back-biased so the nose planes up rather than diving. Ride the whole board, just with the balance point moved back.
The nose stays on the surface. Hold it too long on a groomer and the board will not turn.The back seat
Hips behind the rear binding, usually because the slope looks steep. Almost every rider does this in their first season.
The nose lifts, the front of the edge stops gripping, the board runs straight and gets faster — which makes the rider lean back further. It is the single most common reason turns stop working.Related lesson
Watch the movement.
This clip matches the guide. YouTube loads only when you press play.

Beginner / Linking turns / 42:55
Real beginners: first time to linking turns
By Malcolm Moore
Beginner / Linking turns / 8:24
Link your turns with less hesitation
By SnowboardProCampBuild turns with a drill ladder
Start with one J-turn on the weaker side. Then make a garland: begin across the slope, let the nose drift slightly downhill and return to the same edge without crossing the fall line. Next, link two full turns and stop. Finally, add one turn at a time while the rhythm stays calm.
Count “finish, soften, change, finish” out loud if the movement feels rushed. A useful session might be ten good two-turn sequences—not one survival run from top to bottom.
- Five J-turns each side
- Five garlands on each edge
- Pairs of linked turns with a full stop
- Four to six linked turns with equal-sized arcs
- Move to slightly steeper terrain only when the stop remains available
Diagnose the turn that keeps breaking
If the board accelerates beyond control, finish farther across the slope or move to gentler terrain. If the tail whips around, reduce the shoulder swing and stop pushing with the rear foot. If the board catches during the transition, you may be engaging the downhill edge before the board has crossed the fall line.
If toe-side collapses, bring the hips over the board and let the shins meet the boot tongues rather than bending at the waist. If heel-side chatters, stay flexed and build pressure more progressively instead of sitting low behind the heels.
- Runaway speed → rounder finish or easier pitch
- Tail spray → too much skid from the rear leg
- Edge catch → wrong edge at the wrong point in the arc
- Back-leg burn → weight may be retreating from the front foot
- One giant turn, one tiny turn → practise the weak side by itself
Stop the drill before fatigue rewrites it
Linked turns improve when the repetitions are similar enough for your body to compare them. Once the legs are exhausted, the board starts receiving late, defensive inputs. Rest at the side of the run where you are visible from above, then return to a simpler drill if needed.
A local instructor can identify whether the real issue is posture, timing, terrain choice, equipment fit or fear. Video gives you a movement model; feedback on snow is what makes it yours.
Profile-led equipment
Beginner gear checks
Fit beats brand, and renting is often the smart first move.
- Fit + flex profile · Start hereOptional profile examplesSee market examples
Soft-to-medium snowboard boot profile
A forgiving category many learners can compare after establishing the right shell volume and heel hold.
Check: Fit in person with one thin snowboard sock; compare support, not just flex numbers, and reject numbness or sharp pressure.Before buying: This is a profile, not a product pick. A supportive medium boot may suit some beginners better than a very soft one, and flex scales vary by maker.
- Compatibility · Useful nextOptional profile examplesSee market examples
Snowboard bindings
Transfers boot movement into the board and holds your chosen stance.
Check: Match boot size, mounting system and board width; center toe and heel overhang. - Head protection · Start hereOptional profile examplesSee market examples
Snow-sports helmet
Designed for snow-sports fit, coverage and cold-weather use.
Check: It should sit level, move with the scalp and pair with goggles without a large gap. - Vision · Start hereOptional profile examplesSee market examples
Snow goggles + low-light lens
Protects the eyes and keeps terrain features readable in wind, snow and flat light.
Check: Test with your helmet and choose a lens for the conditions you ride most.