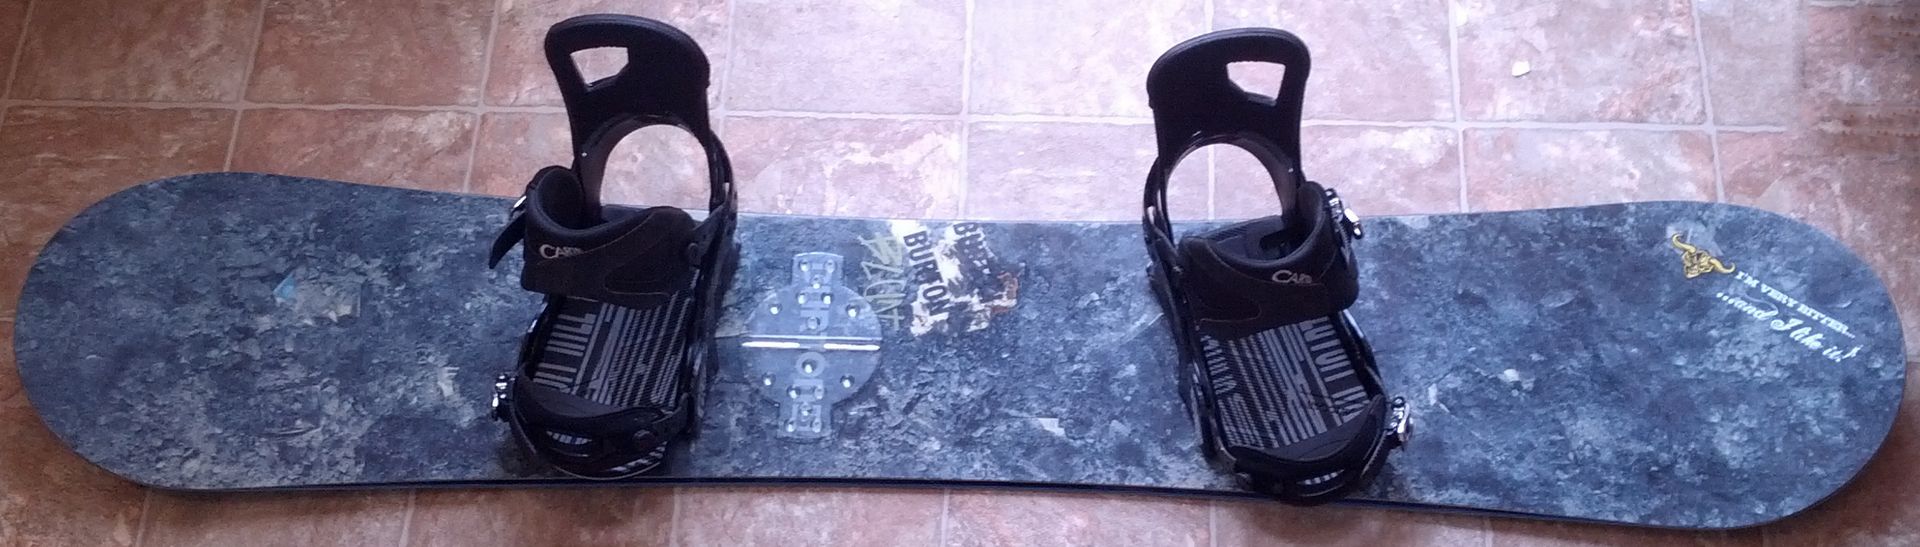
Length carries the rider. Width clears the boots. The right size is where both decisions meet.
Photo: BurtonbluntsnowboardLicenseChoose snowboard length and width without guessing
The right board should feel like a line opening beneath you—not a plank you have to wrestle. Weight finds the viable lengths. Your real boot and binding setup decide width. Terrain and riding style break the tie.
Start with the exact board, not your chin
The old “stand it beside you and look for your chin” test is a rough visual check, not a buying method. Two boards with the same total length can carry different effective edges, running lengths, widths, flex patterns and rider-weight ranges.
Choose the kind of board first, then open the manufacturer’s size table for that exact model and year. Rider weight is the first filter because the board is engineered to flex and recover within a target load. Height still matters for leverage and stance comfort, but it should not overrule the model chart.
- Model and terrain first
- Rider weight creates the viable size range
- Boot and binding fit decide the required width
- Height, ability and preference help choose between overlapping sizes
Fit drawing / board width
Balance the footprint beneath the bindings.
The waist number is only a shortcut. The useful width is under each mounted foot.Large toe and heel overhang can touch snow before the edge angle you intend to use.
A little overhang is normal. Centre the actual boot and binding so toe and heel margins are useful on both feet.
Unneeded width asks for more movement and leverage to change edges. “Wide” is useful only when the footprint needs it.
Find the length range your weight can actually ride
Highlight every size whose published rider-weight range includes you. If only one size fits, the first decision is made. If two or three overlap, you have room to tune the ride rather than chase one supposedly perfect number.
Within a valid range, the shorter option usually lowers swing weight and feels easier to pivot. The longer option usually adds running surface, stability and float. Stay inside the maker’s guidance: buying an undersized board just because it reaches your chin can make it feel softer and less composed than designed; an oversized board can feel stiffer and harder to bend.
- Shorter within range: quicker handling, less swing weight, less surface area
- Middle of the overlap: balanced all-mountain starting point
- Longer within range: more stability, effective edge and float
- Freestyle and freeride preferences adjust the choice only after the weight check
Make the boot fit the board—not the shoe-size label
Width is the second gate. The goal is enough platform for the boot and binding without creating obvious toe or heel drag, while keeping the board narrow enough to move cleanly from edge to edge. A little balanced boot overhang is normal and useful; zero overhang is not the target.
Murasaki Sports gives boot size minus roughly one centimetre as a quick waist-width screen. Treat that as a starting signal, not a universal conversion. A snowboard’s waist is measured at its narrowest point between the bindings, while the board is wider under each foot. Boot outsole length also varies by brand, model, shell reduction and nominal size. Use the actual boots, bindings, stance width and angles whenever possible.
- Too narrow: boot-out risk when the board is put on edge
- Too wide: slower edge-to-edge response and more leverage required
- More positive binding angles can reduce the boot’s across-board footprint
- A “wide” label is not standardized—read the millimetres
Read the spec table like a mountain map
Total length is only the headline. Rider-weight range tells you the intended load. Waist width is the quick boot-fit proxy. Running length or effective edge describes how much board engages with the snow. Stance range tells you whether your comfortable setup fits the inserts. Setback shows how far the reference stance sits towards the tail.
Nose and tail width, taper and sidecut complete the picture. This is why a short, wide powder shape can carry the same rider as a longer conventional twin. Never transfer a size recommendation from one model to another simply because both have the same number printed on the base.
- Length: nose-to-tail measurement
- Weight range: intended rider load
- Waist width: narrowest point, not width beneath the bindings
- Running length or effective edge: snow-contact clue
- Stance range and setback: where the rider can stand on the design
Related lesson
Watch the movement.
This clip matches the guide. YouTube loads only when you press play.

Setup / Board, boot & gear fit / 2:21
DO I NEED A TWIN OR DIRECTIONAL SNOWBOARD SHAPE?
By Nidecker Snowboards
Setup / Binding setup / 2:04
Mount your bindings and dial in your stance
By BurtonWorked line: the Nitro Phase size run
Nitro’s current Phase shows why one measurement never decides the board. Its 152mw, 155mw, 159mw and 162w sizes increase from 253 to 269 millimetres at the waist, while the published rider ranges step from 50–70 kg, 55–75 kg, 65 kg and above, then 70 kg and above.
A 68 kg rider lands inside three length ranges. That does not make all three equally right. A compact boot and quick-turn preference may keep the 152mw or 155mw in play; more speed and float may point towards the 159mw. If the actual boot setup is too wide for those options, jumping to the 162w is not automatically correct because that size starts at 70 kg. The clean answer may be a different model offering the needed width inside the rider’s weight range.
- First shortlist by weight
- Then reject widths that do not fit the mounted boot
- Compare running length, flex and terrain intent
- Choose another model when length and width cannot both work
Volume-shifted boards change the ruler
Some powder and carving shapes deliberately move surface area into extra width, a fuller nose or taper. They may be designed to ride several centimetres shorter than a conventional all-mountain board. Other big-mountain shapes keep more length for stability and float.
Follow the exact model recommendation. “I always ride a 156” is experience, not a law of physics. The mountain only cares whether the board carries your weight, clears your boots and matches the line in front of you.
Do the shop-floor check before the first chair
Bring the boots you will ride. Put them in the correct binding size, mount or position the binding at your likely stance and centre the boot so toe and heel overhang are reasonably balanced. A good shop can compare the board width beneath each binding, not just quote the waist number.
If you are between sizes, rent or demo both on familiar terrain. Give each board more than one nervous run. Notice turn initiation, edge changes, stability, float and whether the boot touches snow at the edge angles you genuinely use. Then write the setup down—the best size chart is the one improved by your own snow time.
- Use your real boots and bindings
- Check stance range and balanced overhang
- Confirm the manufacturer’s current model-year chart
- Demo when two valid sizes remain
- Ask a qualified shop to verify uncertain compatibility
Profile-led equipment
Equipment profiles for this guide
Start with the fit, flex or compatibility you need. These links show the market; they are not reviews or winners.
- Demo before buying · Useful nextOptional profile examplesSee market examples
All-mountain board demo shortlist
A broad category to test after rental days—not a claim that one brand, flex or profile works for everyone.
Check: Treat rider weight and boot-compatible width as non-negotiable, then demo different flex and camber or rocker profiles on the terrain you ride.Before buying: Board choice gets personal fast. Treat retailer results as a market scan, then talk to a good shop and rent or demo before committing.
- Fit + flex profile · Start hereOptional profile examplesSee market examples
Soft-to-medium snowboard boot profile
A forgiving category many learners can compare after establishing the right shell volume and heel hold.
Check: Fit in person with one thin snowboard sock; compare support, not just flex numbers, and reject numbness or sharp pressure.Before buying: This is a profile, not a product pick. A supportive medium boot may suit some beginners better than a very soft one, and flex scales vary by maker.
- Compatibility · Useful nextOptional profile examplesSee market examples
Snowboard bindings
Transfers boot movement into the board and holds your chosen stance.
Check: Match boot size, mounting system and board width; center toe and heel overhang.