Start from a neutral, repeatable stance; make small angle changes and test them on easy terrain.
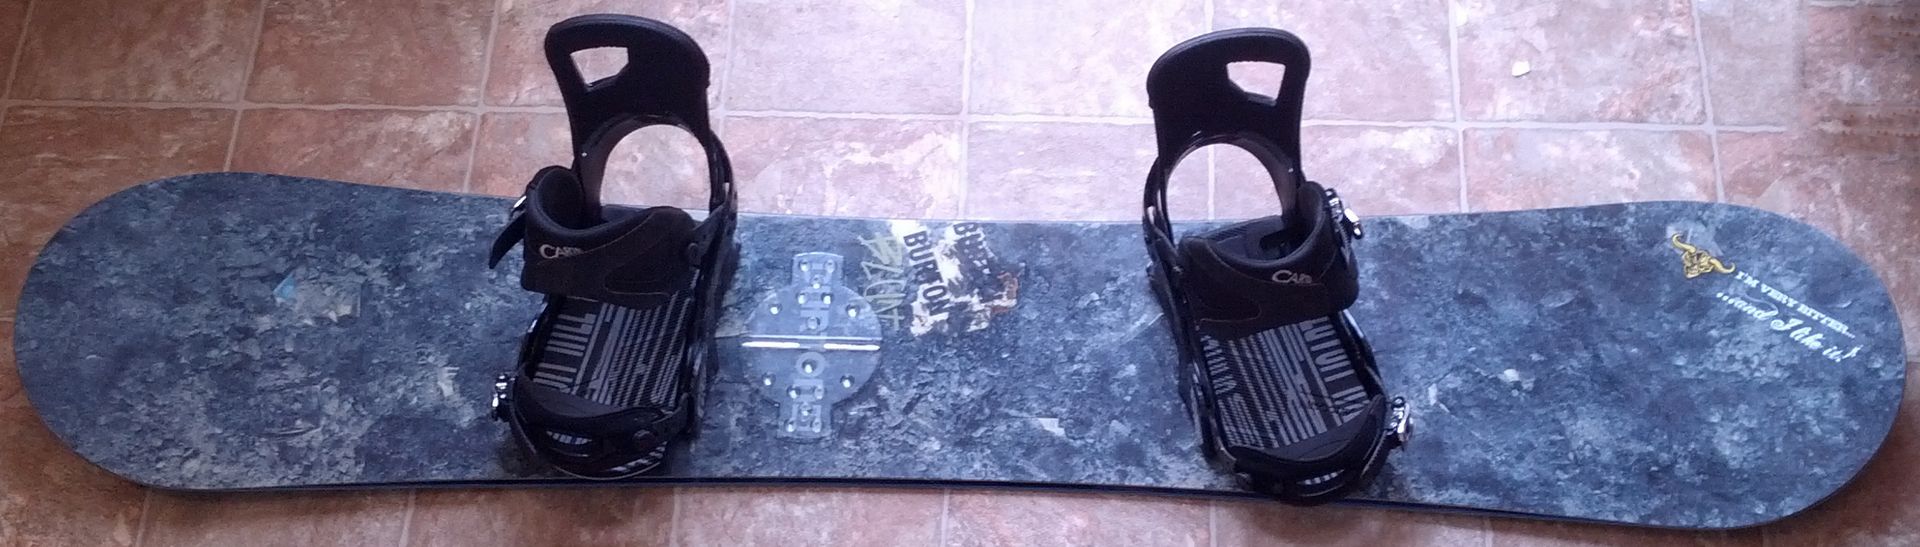
Photo: BurtonbluntsnowboardLicenseSnowboard stance angles for carving, park and all-mountain riding
Angles change how your hips and knees face the board. Width changes leverage and mobility. Setback changes how much nose and tail you have. Treat the numbers below as testable starting points—not rules.
Read the stance before changing it
Regular means left foot forward; goofy means right. A positive angle points a binding towards the board’s nose, zero sits across the board and a negative angle points towards the tail. “+15 / −6” always lists the front foot first.
Start from the board maker’s reference marks. Center each boot across the board so toe and heel overhang are reasonably balanced, then check that the binding disc, hardware and boot are compatible.
- Angles rotate the feet
- Width changes lateral leverage and hip mobility
- Setback moves both bindings towards the tail without automatically changing width
- Forward lean changes heelside response; it is separate from stance angle
Starting points by riding style
These are conservative soft-boot starting ranges synthesized from common manufacturer guidance. Your anatomy, boot size, board width, board reference stance and preferred terrain matter more than matching an exact number.
| Riding style | Starting angles | Board position | How it affects riding | Trade-off |
|---|---|---|---|---|
| General resort / learning | +15 / 0 to −6 | Reference width; centred or the board’s reference setback | A modest forward lead foot supports normal turns while the neutral or slightly negative rear foot keeps movement approachable. | Less switch symmetry than a matched duck stance and less forward alignment than a carving setup. |
| Park / freestyle | +12 / −12 to +15 / −15 | Centred on the board; often symmetrical on a true twin | A matched duck stance makes regular and switch riding feel more alike and leaves room for presses, spins and landings. | It is less directional for sustained carving; forcing an excessively wide or aggressive duck can irritate hips or knees. |
| All-mountain | +15 to +21 / −6 to +6 | Start at reference width and the board’s designed reference position | Keeps useful forward drive for groomers while retaining enough neutrality for side hits, variable snow and occasional switch riding. | It is intentionally a compromise. Rear-positive settings become more directional; rear-negative settings favour switch. |
| Carving — soft boots | +21 to +30 / +6 to +18 | Reference width first; centre the boots carefully across the board | Positive-positive angles rotate both knees and hips towards the nose, support a directional body position and can reduce boot overhang for deeper edge angles. | Switch becomes awkward. Too much angle can reduce across-board leverage, and no angle fixes a board that is too narrow for the boots. |
| Powder / freeride | +15 to +24 / 0 to +12 | Use the board’s reference setback; on deep days move both bindings tailward only within maker guidance | A directional stance plus setback increases nose area, helps the board plane and reduces the effort needed to keep the nose clear. | Less tail and a forward-facing stance reduce switch performance. Setback is not a substitute for balanced technique. |
What each adjustment changes
More positive angles turn the lower body towards the nose. This can feel natural for directional carving, but it makes switch riding less symmetrical. A more negative rear angle opens the rear knee towards the tail, helping duck-stance mobility and switch riding.
A wider stance can feel stable and give more leverage at low speed, but may reduce flexion and make edge changes feel slower. A narrower stance can move quickly but may feel less supported. Setback shifts the rider towards the tail, increasing usable nose and powder float while reducing tail length.
- More front-positive: stronger directional cue
- More rear-negative: more switch symmetry and freestyle freedom
- More rear-positive: more forward-facing, directional alignment
- Wider: more platform, potentially less mobility
- More setback: more float, less switch balance
Weight distribution
Where your weight sits along the board
Plan view, nose to the right. The bar shows how pressure is shared between the front and rear foot, and the figure shows where the hips end up.
Centred
Weight split close to even, a shade toward the front foot on a directional board. This is the position to return to between turns.
Both ends of the edge work, so the board holds a line and responds when you ask it to.Starting a turn
A moment more pressure over the front foot as the new edge goes in, so the nose engages and starts drawing the arc.
The turn begins from the front of the board instead of being twisted from the back.Deep snow
Deliberately back-biased so the nose planes up rather than diving. Ride the whole board, just with the balance point moved back.
The nose stays on the surface. Hold it too long on a groomer and the board will not turn.The back seat
Hips behind the rear binding, usually because the slope looks steep. Almost every rider does this in their first season.
The nose lifts, the front of the edge stops gripping, the board runs straight and gets faster — which makes the rider lean back further. It is the single most common reason turns stop working.Related lesson
Watch the movement.
This clip matches the guide. YouTube loads only when you press play.

Setup / Binding setup / 2:04
Mount your bindings and dial in your stance
By Burton
Setup / Binding setup / 2:35
Snowboarding: How to Set Up Bindings
By REIA sensible testing process
Use +15 / −6 at the reference stance as a neutral first experiment unless the board or instructor specifies otherwise. Ride familiar, easy terrain. Record the angles, width, setback and forward lean, then change only one variable—usually one disc increment or one insert position.
Judge the setup by control and comfort across several runs, not by how it looks in the car park. Stop and reset if you feel knee pain, hip restriction, numbness or unstable boot overhang. A qualified shop or instructor can check mounting and movement in person.
- Photograph the original setup
- Keep stance width constant while testing angles
- Move both bindings together when testing setback
- Re-check mounting screws after adjustment
- Never copy a professional rider without accounting for board, boots and anatomy
Profile-led equipment
Equipment profiles for this guide
Start with the fit, flex or compatibility you need. These links show the market; they are not reviews or winners.
- Compatibility · Useful nextOptional profile examplesSee market examples
Snowboard bindings
Transfers boot movement into the board and holds your chosen stance.
Check: Match boot size, mounting system and board width; center toe and heel overhang. - On-hill adjustment · Start hereOptional profile examplesSee market examples
Snowboard multi-tool
Handles common binding checks and small stance adjustments during a trip.
Check: Confirm the bits match your binding hardware; never overtighten or improvise fasteners. - Fit + flex profile · Start hereOptional profile examplesSee market examples
Soft-to-medium snowboard boot profile
A forgiving category many learners can compare after establishing the right shell volume and heel hold.
Check: Fit in person with one thin snowboard sock; compare support, not just flex numbers, and reject numbness or sharp pressure.Before buying: This is a profile, not a product pick. A supportive medium boot may suit some beginners better than a very soft one, and flex scales vary by maker.
- Lift exits · Optional progressionOptional profile examplesSee market examples
Stomp pad
Adds traction for the unstrapped rear foot while skating and unloading.
Check: Choose a low-profile shape and install only on a clean board using its instructions.