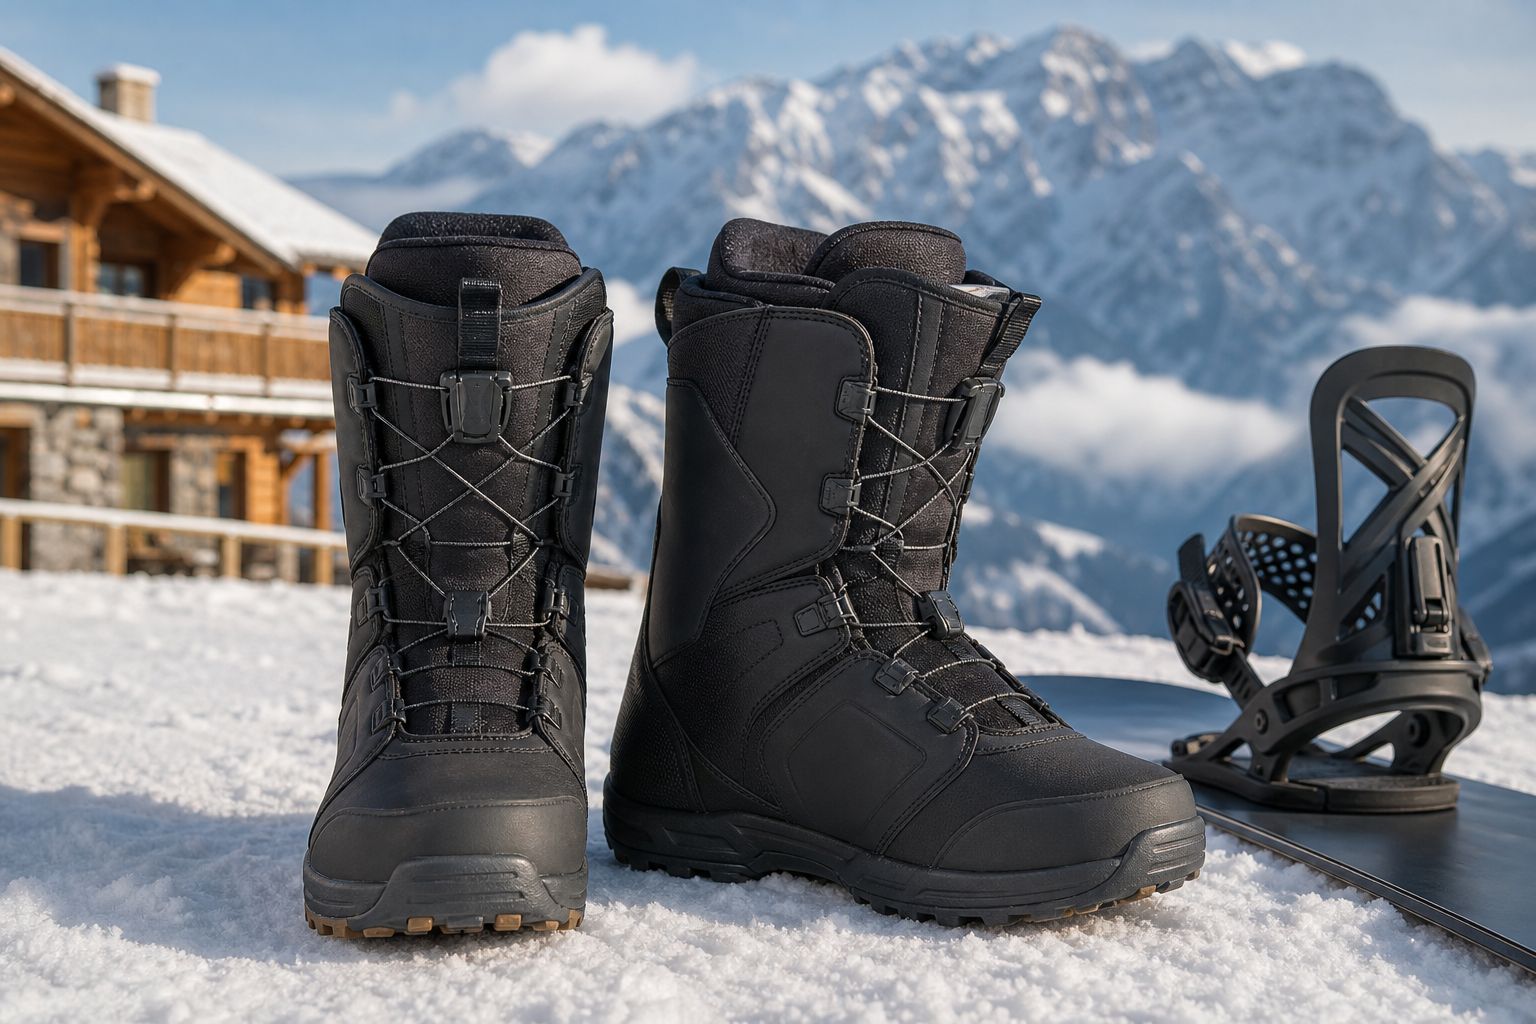
Boots are the fit decision that affects every run. Aim for secure heel hold and even contact without pressure pain.
Visual: SBTV editorialHow snowboard boots should actually fit
Snug is good. Numb is not. The boot is the first fit decision in the entire setup: it has to hold your foot, sit inside the binding and leave the assembled board enough edge clearance.
Measure first; treat the label as a starting point
Measure both feet in centimetres while standing, ideally later in the day when feet are not at their smallest. Use the longer foot to begin the Mondo search, then try nearby sizes because shell shape and brand grading vary.
Street-shoe size is not a reliable final answer. Two boots with the same label can differ in heel pocket, forefoot width, instep height and overall shell volume.
- Measure both feet
- Bring the footbed or orthotic you actually use
- Try adjacent sizes when the fitter recommends it
- Do not buy extra length to solve a width or instep problem
Fit drawing / boot shell
Held everywhere. Crushed nowhere.
The flexed riding stance is the useful test—not standing bolt upright for ten seconds.Toes can brush the liner upright, then ease back when the knees flex. The heel stays connected without numbness or a sharp pressure ridge.
More lace tension cannot rescue the wrong shell volume. Free heel movement, curled toes, burning or numbness are reasons to try another size or shape.
Know what “snug” should feel like
Standing upright, your toes may lightly brush the liner. Flex into a riding stance and the heel should settle back so the toes ease away from the front. The foot should feel held around the heel and ankle without a sharp ridge or circulation loss.
A boot that already feels roomy in the shop normally becomes looser as its liner settles. Pack-out is not a reason to accept pain, but it is a reason not to confuse immediate slipper comfort with a secure riding fit.
Rough gauge only
Mondopoint, and why it is the only number worth trusting
Mondopoint is your foot length in centimetres. That is the whole idea — a 26.5 boot is built around a 26.5 cm foot. Every maker prints it somewhere, even when the box shouts a US size, and it is the one figure that means the same thing in Tokyo, Denver and Munich.
The other columns are what makers typically publish. Treat them as a way to narrow a shortlist, never as a size to buy from. Two brands label the same shell differently, the same brand can label it differently between its US and Japanese ranges, and half sizes very often share one shell.
| Mondo / JP (cm) | US men | US women | UK | EU |
|---|---|---|---|---|
| 22.5 | 4.5 | 5.5 | 3.5 | 35–36 |
| 23.0 | 5 | 6 | 4 | 36 |
| 23.5 | 5.5 | 6.5 | 4.5 | 36–37 |
| 24.0 | 6 | 7 | 5 | 37–38 |
| 24.5 | 6.5 | 7.5 | 5.5 | 38 |
| 25.0 | 7 | 8 | 6 | 39 |
| 25.5 | 7.5 | 8.5 | 6.5 | 39–40 |
| 26.0 | 8 | 9 | 7 | 40–41 |
| 26.5 | 8.5 | 9.5 | 7.5 | 41 |
| 27.0 | 9 | 10 | 8 | 42 |
| 27.5 | 9.5 | 10.5 | 8.5 | 42–43 |
| 28.0 | 10 | 11 | 9 | 43 |
| 28.5 | 10.5 | 11.5 | 9.5 | 43–44 |
| 29.0 | 11 | 12 | 10 | 44–45 |
| 29.5 | 11.5 | — | 10.5 | 45 |
| 30.0 | 12 | — | 11 | 46 |
| 31.0 | 13 | — | 12 | 47 |
Measure the foot, not the shoe
- Stand on a sheet of paper against a wall, heel touching it, wearing the sock you will actually ride in.
- Mark the end of your longest toe — which is not always the big one — and measure heel to mark in centimetres.
- Do both feet. They differ for most people; fit the larger one.
- Measure at the end of the day, when your feet are at their largest.
- That number, in centimetres, is your Mondopoint starting size.
Four things the table cannot tell you. Mondopoint encodes length only, so a wide foot may need a different shell rather than a longer one. Liners pack out — a boot that fits perfectly in the shop will feel roomier after a few days, which is why a new boot should be snug and never painful. Half sizes frequently share a shell with the size below, so the difference is liner thickness, not room. And boot length drives board waist width: a larger foot may need a wide board to keep your toes and heels off the snow. The Fit Lab exists to show you that last one.
Run a 15–20 minute shop test
Use one thin merino or synthetic snowboard sock—the same type you intend to ride. Lace the liner and shell as designed, flex repeatedly, roll from toe to heel and hold a low riding stance long enough for pressure points to reveal themselves.
Heel movement should be small and controlled. If the heel lifts freely, first check that the boot is laced correctly; then try another volume or heel shape instead of crushing the whole foot with more tension.
- No numbness, burning or sharp pressure
- Heel stays connected when you flex forward
- Toes rest naturally rather than curling
- Shin contact is broad, not one painful hotspot
- No trousers or base-layer cuffs tucked inside the boot
Choose flex for the job, after fit
Softer boots allow more ankle movement and can make low-speed learning and freestyle movement more approachable. Medium flex is the broad all-mountain middle. Stiffer boots transfer input sooner and add support at speed, but can punish poor fit or restricted ankle movement.
Flex numbers are not standardized between brands. Compare boots by trying them on, reading the maker’s intended use and matching the response to the board and binding rather than chasing one universal number.
Related lesson
Watch the movement.
This clip matches the guide. YouTube loads only when you press play.

Setup / Board, boot & gear fit / 8:30
Choose snowboard gear that actually fits
By SnowboardProCampTest the complete boot–binding–board chain
Put the exact boot into the intended binding size. Confirm the toe and ankle straps sit in their designed positions, the heel is supported and any gas-pedal or heelcup adjustment can centre the boot. For Burton Step On, use a compatible Step On boot; Nidecker Supermatic instead accepts conventional soft boots within its published size range.
Once mounted, look at the board width beneath each binding—not only the waist printed in the catalogue. Binding angle changes the boot’s cross-board projection, while toe rise, shell shape and chassis low points change real snow contact. Use the Fit Lab to reject obvious mismatches, then bench-check the physical setup.
Know which problems a fitter can solve
A qualified fitter can measure foot volume, recommend a better shell shape, adjust supported liner zones and discuss footbeds or approved heat moulding. They cannot make an obviously oversized shell shorter or guarantee that a painful mismatch will disappear after riding.
Bring both feet, both socks and enough time. If one foot is larger or shaped differently, fit the difficult foot first and ask how the smaller side can be supported without improvising unsafe padding.
Profile-led equipment
Equipment profiles for this guide
Start with the fit, flex or compatibility you need. These links show the market; they are not reviews or winners.
- Fit + flex profile · Start hereOptional profile examplesSee market examples
Soft-to-medium snowboard boot profile
A forgiving category many learners can compare after establishing the right shell volume and heel hold.
Check: Fit in person with one thin snowboard sock; compare support, not just flex numbers, and reject numbness or sharp pressure.Before buying: This is a profile, not a product pick. A supportive medium boot may suit some beginners better than a very soft one, and flex scales vary by maker.
- Boot interface · Start hereOptional profile examplesSee market examples
Thin snowboard socks
Manages moisture without adding folds or excess bulk inside a fitted boot.
Check: Use one over-the-calf pair; doubling socks can reduce circulation and control. - Drying · Optional progressionOptional profile examplesSee market examples
Low-heat boot dryer
Helps dry liners and gloves between consecutive Japan storm days.
Check: Use gentle heat and follow the boot and liner manufacturer’s care limits. - Travel · Optional progressionOptional profile examplesSee market examples
Boot bag or dry tote
Keeps boots, helmet and damp accessories organized between accommodation and resort.
Check: Prioritize ventilation and a layout you can carry alongside the board bag.