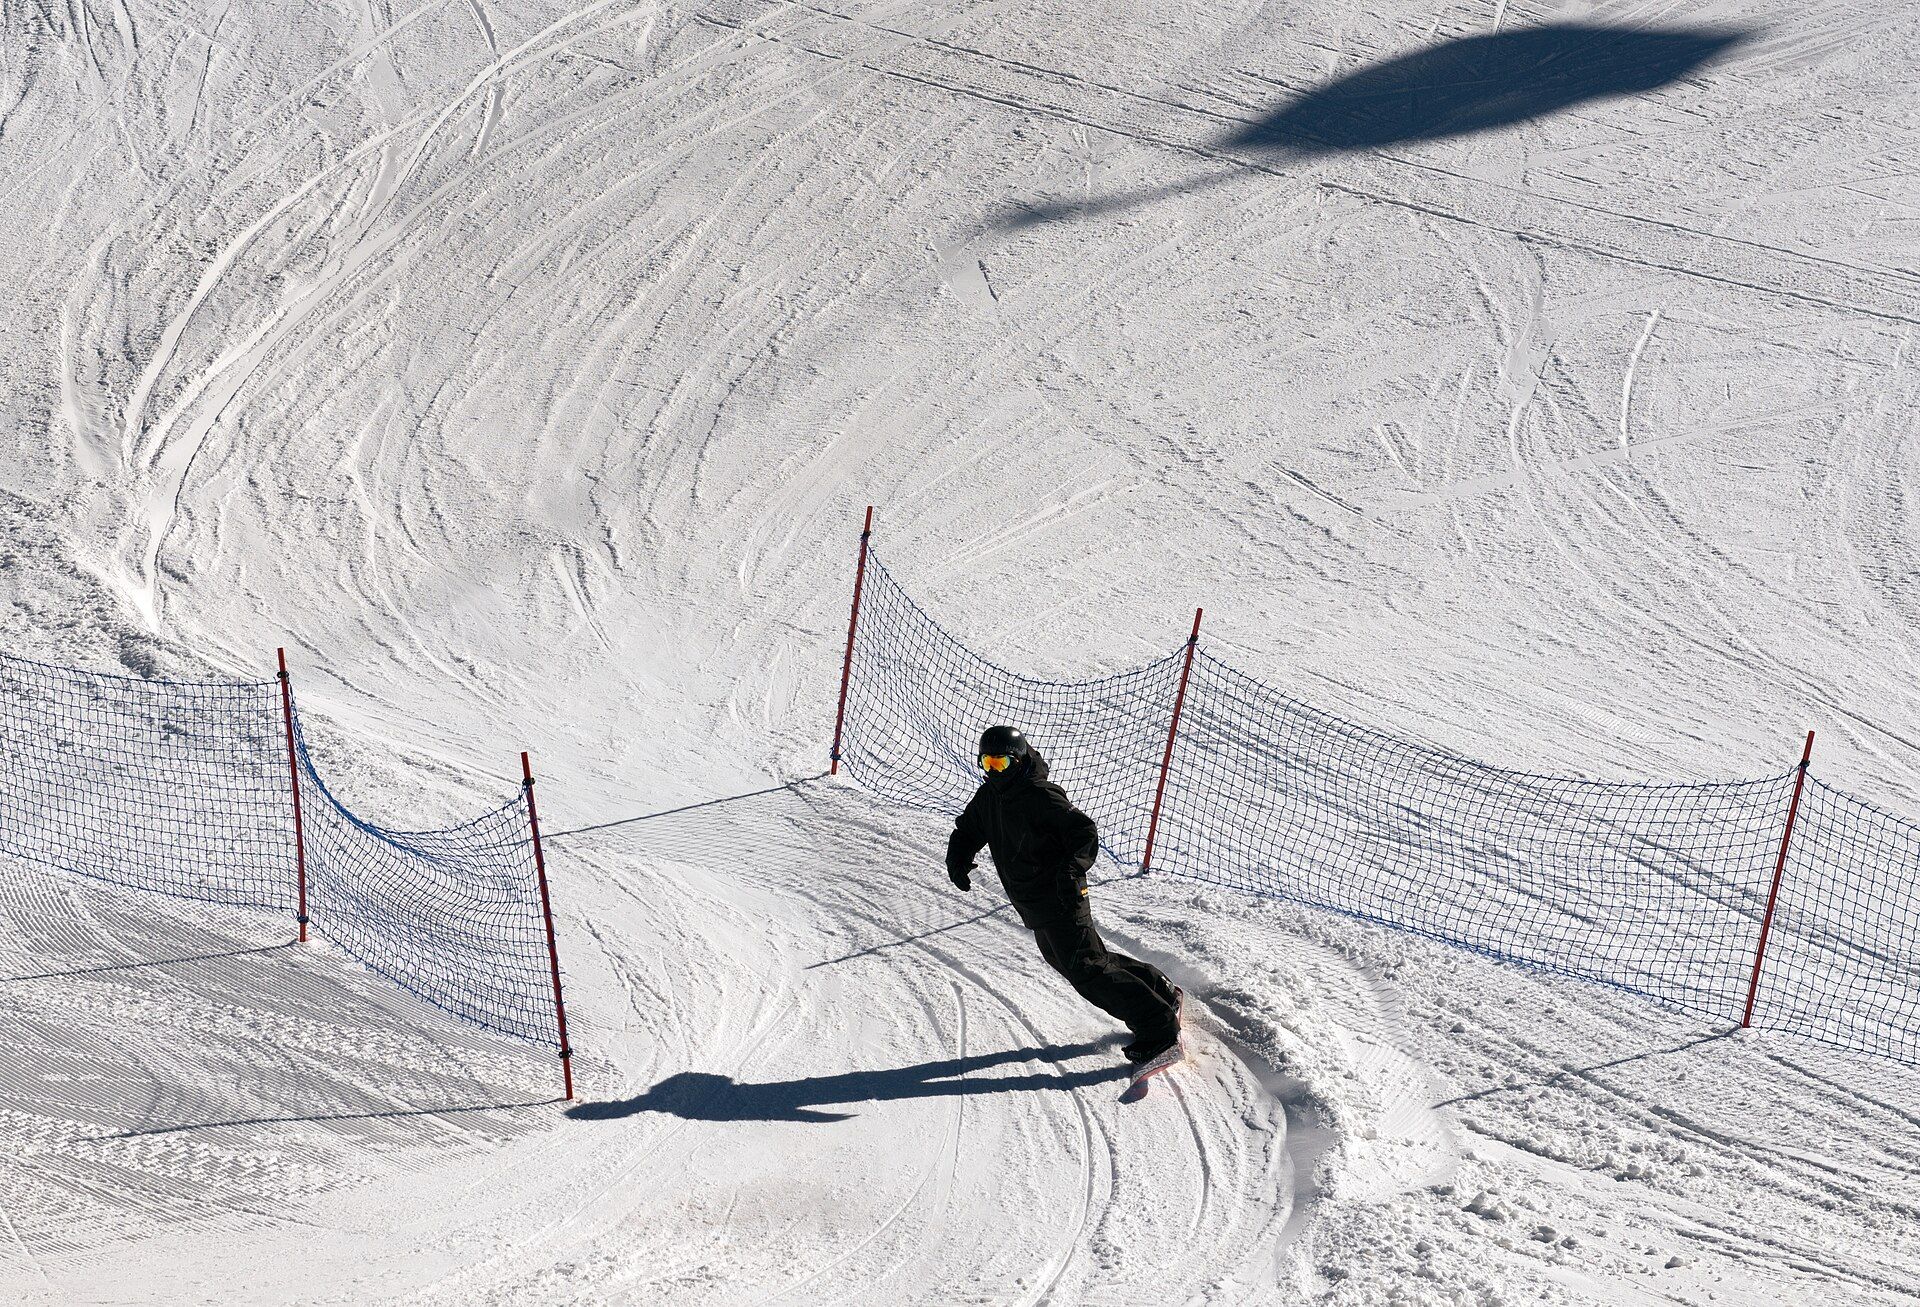
Most of staying safe is knowing where other people are and making yourself easy to see.
Photo: Carol M. HighsmithLicenseRiding around other people
Nobody hands you this on day one. Every resort assumes you know the code, and most of what goes wrong for beginners is not technique — it is not knowing where you are supposed to be.
The code, and why it is not optional
Every resort in the world runs on a version of the same short list. In the United States it is the National Ski Areas Association’s Responsibility Code, which went from seven points to ten in 2022. In Europe it is the FIS rules. Japan publishes its own ten-point code through the national ski safety council, which tracks FIS closely and adds two of its own: use a leash on your board, and follow staff directions.
They differ in detail but agree on the thing that matters. If you are above someone, avoiding them is your job. Not theirs. Not partly theirs. Yours.
There is one rule in the European and Japanese codes that the American one does not have, and it is worth knowing wherever you ride: at an accident, everyone present has a duty to help. The FIS wording is blunt about it — “every skier or snowboarder is duty bound to assist.”
- Stay in control, and be able to stop or avoid people and objects
- People ahead of or below you have right of way — you must avoid them
- Stop only where you are visible from above and not blocking the run
- Look uphill and yield before starting off or joining a trail
- Obey signs and closures, and stay out of closed areas
- Know how to load, ride and unload a lift — ask the attendant if you do not
- After a collision, exchange contact details and tell a resort employee
Right of way, in the only version you need to remember
Downhill has right of way. That is the whole thing. The person below you cannot see you, cannot predict you, and is not expected to. You have the whole slope in front of you and all the information; they have none of it.
This holds even when the person below is doing something you think is stupid. Stopping in a bad place, cutting across without looking, riding slowly down the middle of the run — none of it transfers responsibility uphill. You still have to go around them.
The one place it flips is starting off or merging. If you are stationary at the side of a run, or coming out of a lift ramp or a side trail, you are the one joining traffic. Look up the hill, wait for a gap, then go. Both the American and European codes make this explicit, and it is the single most common thing beginners forget.
Where to stop, and the roller that hides you
Beginners stop a lot. That is completely normal — you stop to rest, to strap in, to work out where the run goes, to wait for a friend. Where you stop is the part worth being deliberate about.
Stop at the side of the run, not in the middle, and stop somewhere a rider coming from above can see you from a distance. The dangerous spot is just below a roller, a knoll or a lip — anywhere the ground falls away so that you are invisible until someone is already on top of you. From above it looks like empty snow.
If you fall somewhere like that, the priority is to move, not to recover your dignity. Get to the side first and sort yourself out there. Every code says a version of this; the FIS wording is that after a fall in a place with restricted visibility you must clear the piste as soon as possible.
- Side of the run, not the middle
- Visible from well above, never just below a roller or lip
- Never directly below a jump, a lip or a blind rise
- Fell somewhere bad? Move first, tidy up second
The snowboarder blind spot
This one is specific to us, and no official code mentions it. A snowboarder rides side-on, which means one shoulder is always trailing and there is a part of the hill you genuinely cannot see without turning your head.
If you ride regular, with your left foot forward, your blind side is over your right shoulder. If you ride goofy, it is over your left. The worst case is a heelside traverse: you are facing down the hill, the uphill side is directly behind you, and anyone overtaking is in the one place you are not looking.
The fix is a habit, not a technique. Turn your head and look up the hill before you cut across, before you start off, and before you change your line. Instructors teach this universally; it is not written into any code, so nobody is going to tell you.
How to fall
You will fall today, and probably a lot. Falling is not a failure state on a snowboard — it is part of the process, and it is worth practising deliberately rather than leaving to reflex.
The reason it matters is specific. A ten-season survey of over seven thousand snowboarding injuries found that the wrist alone accounted for around a fifth of all of them, and that beginners made up a disproportionate share. The mechanism is almost always the same: falling and throwing a flat, straight arm out to catch the ground.
Going backwards, on a heelside slam: tuck your chin so your head does not hit, keep your arms in front of you rather than reaching back, and take the impact along your forearms with your hands loosely closed. Going forwards, on a toeside catch: come down on your forearms again, not on straight arms and open palms. Try to spread the landing along your body rather than into one point.
Be honest about the evidence here. Instructors everywhere teach this, and it is mechanically sensible, but we could not find a trial showing that taught falling technique reduces wrist injuries. What has been tested is wrist guards, and the result is strong.
Related lesson
Watch the movement.
This clip matches the guide. YouTube loads only when you press play.

First day / Stopping / 10:15
HOW TO STOP KICKING THE BACK FOOT OUT
By Malcolm Moore
First day / Chairlifts / 6:03
Make the chairlift feel routine
By SnowboardProCampWrist guards, and what the research actually says
A systematic review of six studies found wrist guards cut the risk of wrist injury to roughly a quarter of the unprotected rate, and wrist fractures to under a third. The authors put it in plainer terms too: for every fifty snowboarders wearing wrist guards, one wrist injury is prevented.
They also flagged a caveat, and it would be dishonest to leave it out. Some of the non-experimental data suggested guards might increase the risk of finger, elbow or shoulder injuries by transferring load further up the arm. One randomised trial pointed the other way on shoulders. The question is not settled, and the overall balance still comes out clearly in favour of wearing them for a first season.
They cost less than a single lift ticket, they fit under most gloves, and the first weeks are exactly when the risk is highest. Try them on together with your gloves in the shop — a guard that only fits with the glove half unstrapped is a guard you will stop wearing.
The chairlift, both ends
Loading is where beginners get caught out more than unloading. Unstrap your rear foot early, well before the queue, and practise pushing around on flat ground so the shuffle is boring by the time it matters.
In the queue, keep the board pointing straight ahead and try not to run it over the person in front. As you reach the load line, look over your outside shoulder to watch the chair arrive, and sit back into it rather than reaching for it. Let the board hang, with the nose lifted so it clears the ramp. Then say something before you lower the safety bar, so nobody gets a bar in the back of the head.
The bar is worth a note, because practice genuinely differs by country. In Europe and Japan lowering the bar is standard and expected — Japan’s snowboarding association tells riders to lower it and sit deep. In much of the United States it is voluntary and plenty of people never touch it. Lower it anyway, and say so out loud.
Unloading: stand up as the ramp arrives rather than pushing off, keep the board pointing straight, put your free foot on the stomp pad, and glide clear of the ramp before you stop. Then get out of the way — a chairlift unloading area is a conveyor belt of people arriving behind you. Sit down to strap in well off to the side.
- Rear foot out before the queue, not at the load line
- Look over your outside shoulder as the chair comes; sit back, do not reach
- Lift the nose so the board clears the ramp
- Warn people before lowering the bar, then lower it
- Ride straight off the ramp, then move well clear before strapping in
- Drop something from the chair? Let it fall.
Ropes, gates and what Japan does differently
A rope across a run is not a suggestion, and this is one area where the consequences differ sharply by country.
In Japan, resorts generally treat rope-ducking as grounds for taking your pass. The published Niseko Rules say it plainly: always use the gates, never duck the ropes, no backcountry when the gates are closed, and helmet plus avalanche beacon beyond them. They also publish the number — a minimum charge of ¥100,000 for a search and rescue in the backcountry. That is not a threat, it is a price list.
Not every Japanese resort enforces it the same way. Nozawa Onsen publishes designated gates and states that ducking ropes is strictly prohibited, but does not advertise a pass-revocation penalty. What is consistent is that beyond the gate there is no patrol, no avalanche control and no obligation on the resort to come and find you.
None of this is exotic terrain policing aimed at experts. Beginners duck ropes by accident, following a track that looked like a run. If you cannot see where a line goes, do not take it.
If something happens
Stop. If you are involved in a collision, the codes on both sides of the world require you to exchange contact details with the other person, and the American code adds telling a resort employee. Do not ride away, even if you feel fine and they say they are fine.
If you come across someone hurt, stop and help — in Europe and Japan that is a stated duty, not a courtesy. Send someone to a lift attendant or call the resort’s patrol number, which is usually printed on the back of your lift pass or posted at the top of the lift. Put crossed skis or a board upright in the snow above the casualty so approaching riders slow down.
Note the codes place the duty to avoid on the uphill rider. That is the standard the industry works to, and several places write it into law. We are not lawyers and this is not legal advice — but it is a good reason to ride as though everything in front of you is your responsibility, because in the eyes of the code it is.
Profile-led equipment
Equipment profiles for this guide
Start with the fit, flex or compatibility you need. These links show the market; they are not reviews or winners.
- Impact protection · Useful nextOptional profile examplesSee market examples
Snowboard wrist guards
A beginner-oriented layer of wrist protection during frequent low-speed falls.
Check: Confirm compatibility under your gloves and follow the guard maker’s sizing guidance. - Head protection · Start hereOptional profile examplesSee market examples
Snow-sports helmet
Designed for snow-sports fit, coverage and cold-weather use.
Check: It should sit level, move with the scalp and pair with goggles without a large gap. - Impact protection · Optional progressionOptional profile examplesSee market examples
Impact shorts
Adds padding around hips and tailbone for learning days and park progression.
Check: Make sure padding stays in place in a squat and does not restrict circulation.