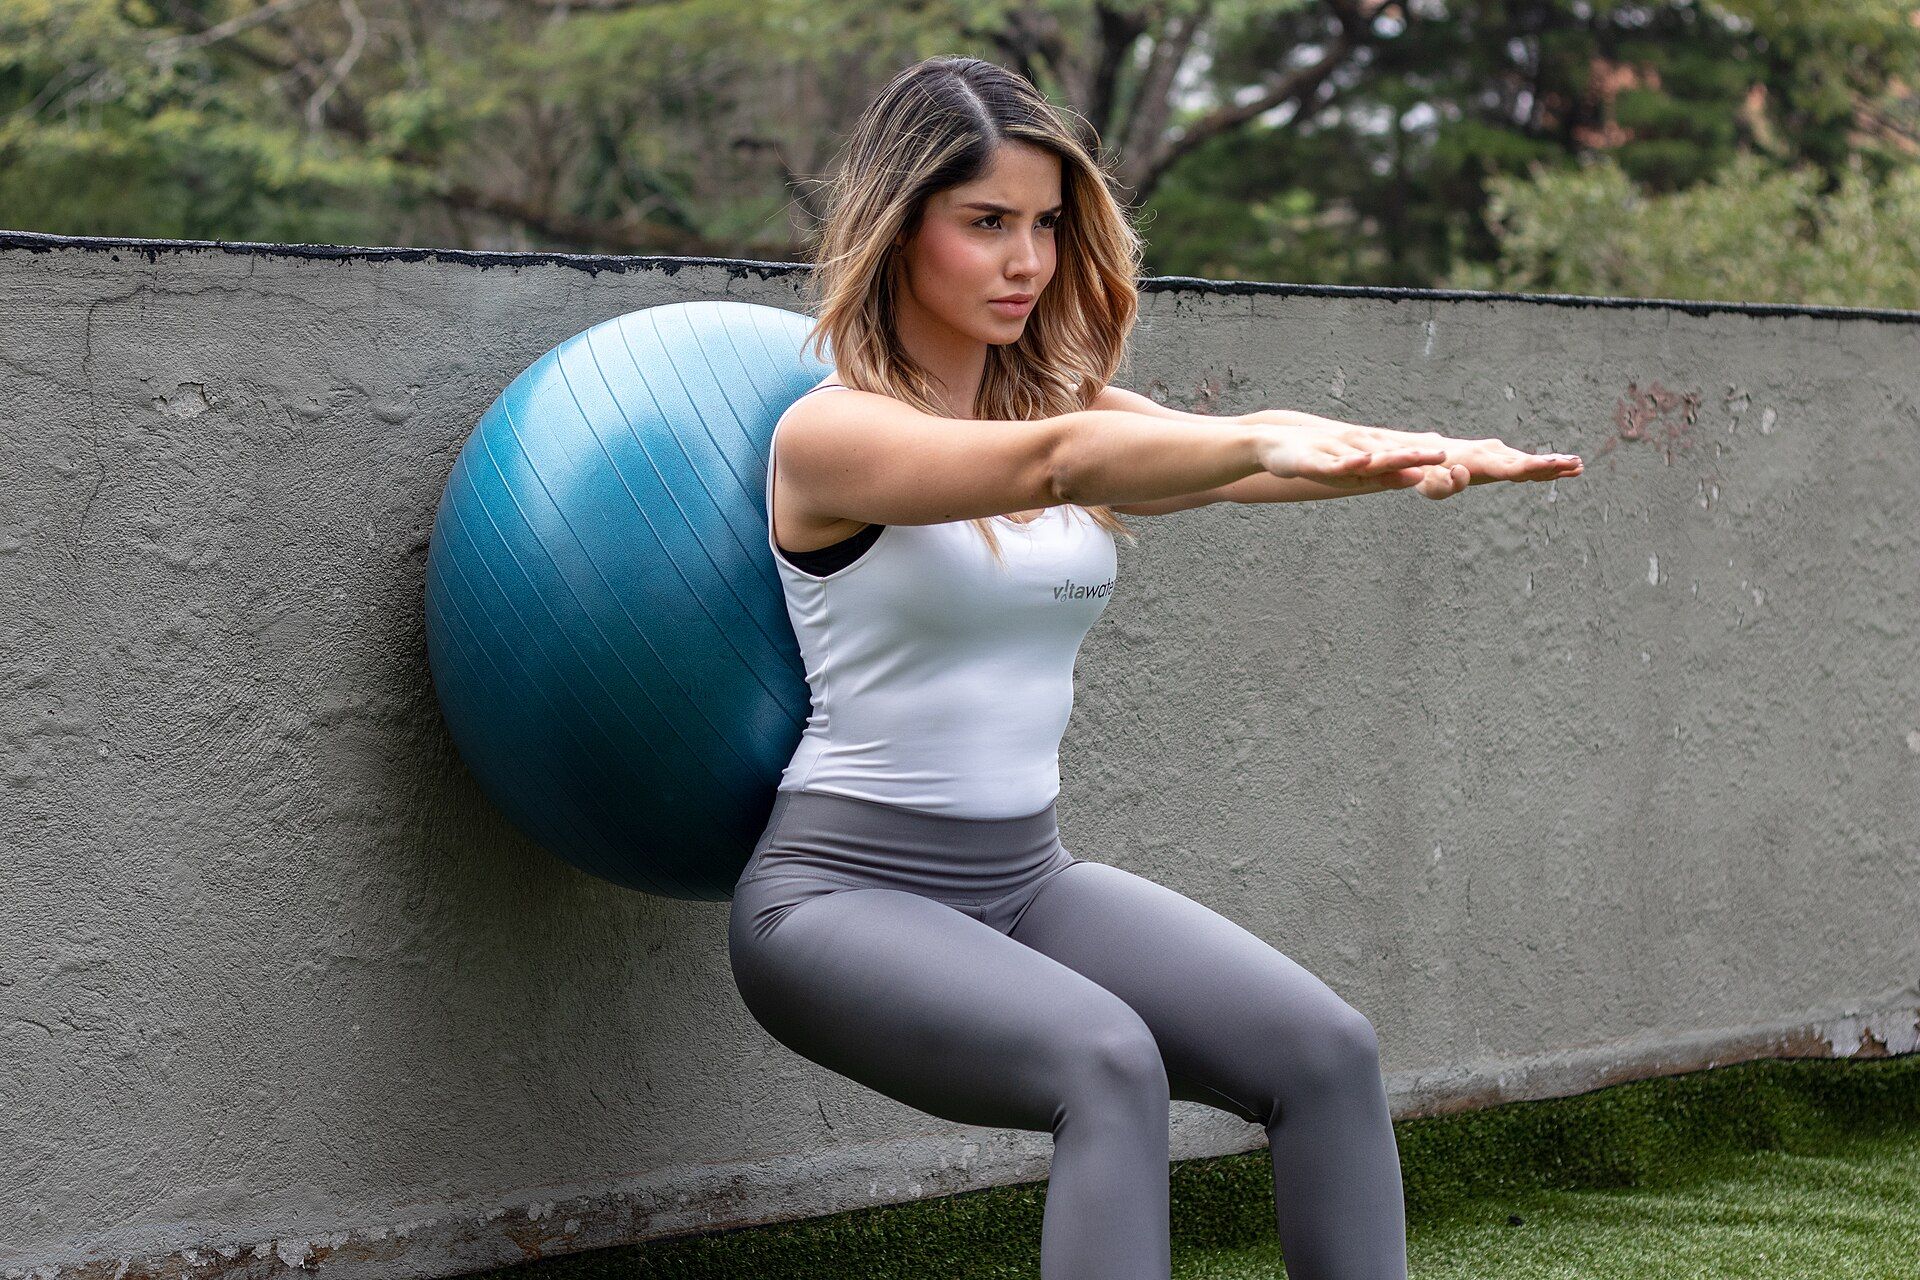
Build leg endurance with controlled positions first; load, speed and complexity come later.
Photo: PTPioneerLicenseSix weeks to feel better on snow
Two strength sessions and a little cardio go a long way. Build control first; add jumps later.
Weeks 1–2: build the base
Twice a week, use chair squats, supported split squats, calf raises and dead bugs. Add two easy walks or rides. Stop each set while your form is still clean.
- Strength twice a week
- Easy cardio for 20–30 minutes twice a week
- Short ankle and hip work most days
Weeks 3–4: go single-leg
Add step-downs, single-leg balance, side planks and low skater steps. Increase range or resistance slowly.
Weeks 5–6: repeat the effort
If landings are quiet and pain-free, add small jumps or skater hops. Use short cardio intervals, then reduce the work in the final days before travel.
Related lesson
Watch the movement.
This clip matches the guide. YouTube loads only when you press play.

Beginner / conditioning / 12:00
12-minute snowboard conditioning workout
By Snowboard AddictionChange it when needed
Pain, swelling, dizziness or instability means stop. If you have an injury or health condition, ask a qualified professional to adapt the plan.
Profile-led equipment
Kit for the six-week plan
None of it is required — every session here has a bodyweight version. These are the tools that make loading progressively easier.
- Floor work · Useful nextOptional profile examplesSee market examples
Exercise mat
Adds comfort for dead bugs, side planks, 90/90 switches and recovery work.
Check: Choose enough grip that hands and feet stay planted during controlled movement. - Single-leg control · Useful nextOptional profile examplesSee market examples
Stable step or training bench
Provides a consistent height for step-downs, supported squats and calf raises.
Check: Use a non-slip, non-wobbling surface and begin with a low height. - Hip control · Optional progressionOptional profile examplesSee market examples
Mini resistance bands
Adds light resistance to squats, lateral steps and hip-control drills.
Check: Begin with light resistance and keep knee tracking smooth rather than chasing fatigue. - Strength progression · Optional progressionOptional profile examplesSee market examples
Adjustable dumbbell or kettlebell
Adds measurable load to squats, split squats and controlled hinge patterns.
Check: Increase load gradually while leaving several technically clean reps in reserve. - Aerobic intervals · Optional progressionOptional profile examplesSee market examples
Jump rope
Adds compact conditioning intervals once quiet, pain-free landings are established.
Check: Use a clear, non-slip surface and switch to walking or cycling if impact is unsuitable.