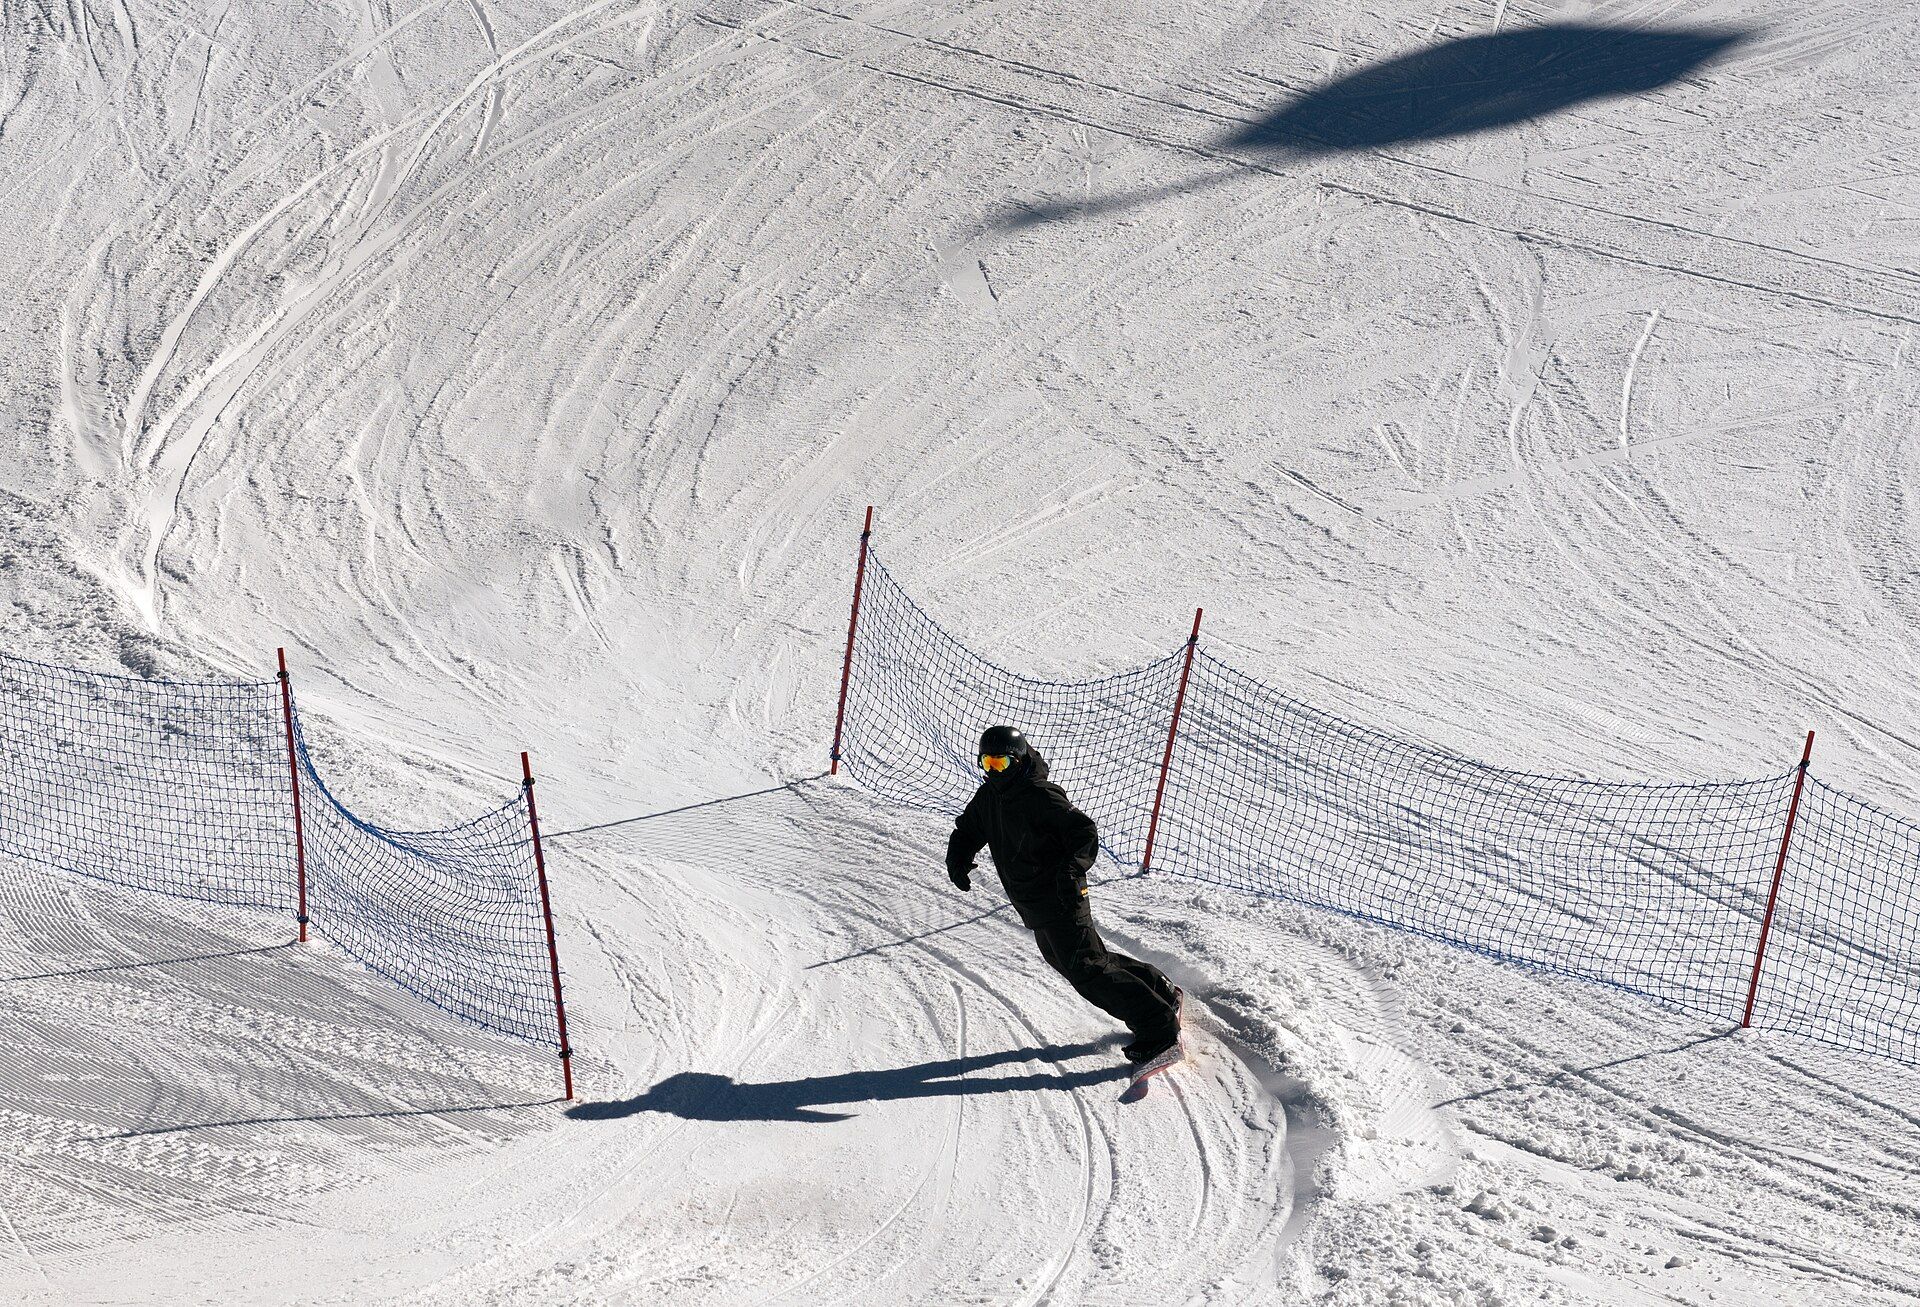
A good first day is built on controlled repetitions in a suitable learning area—not chasing maximum vertical.
Photo: Carol M. HighsmithLicenseYour first snowboard day, in the right order
The first summit can wait. Build a board you can move, two edges you can trust and a stop that works before the mountain gets loud.
Set the day’s win condition
Your first-day goal is not “ride from the top.” It is to move around with one foot free, glide without freezing, stop on both edges and make a few turns on terrain that feels almost too easy. That skill stack is the common thread in the REI and Malcolm Moore beginner lessons behind this guide.
A lesson is the best shortcut. A qualified instructor can choose terrain, see the movement you cannot feel and stop a small mistake becoming your whole riding style. If you are learning with friends, ask them to help with logistics—not tow you straight to a run they call easy.
- Rent beginner-friendly gear and wear a helmet
- Tell the shop your weight, boot size and true ability
- Learn on a designated beginner slope
- Save energy for quality repetitions, not vertical metres
Make boots, bindings and one-foot movement boring
Before sliding, identify your lead foot, tighten the boots evenly and learn how every buckle and strap releases. With the front foot attached, skate using short pushes beside the board. Keep the free foot close; giant scooter kicks pull the hips away from the board.
Practise stepping the free foot onto the stomp area, gliding a few metres and stepping off. This is the chairlift position later. If the board keeps wandering, look ahead rather than down at the bindings and keep your shoulders roughly over the board.
- Front foot secure; rear foot free
- Push beside the board, not far behind it
- Glide with the free foot between the bindings
- Stop and reset before a flat glide becomes a downhill rescue mission
Use straight runs and J-turns to meet the edges
On a very gentle run-out, point the board straight for only long enough to feel it glide, then guide it across the slope until the uphill edge slows you to a stop. That hooked finish is a J-turn. Practise it towards both heel edge and toe edge before adding more pitch.
The useful sensation is not a violent twist. The board runs flatter for a moment, then the new edge builds progressively as the path curves across the hill. If the board chatters or stops instantly, the edge probably arrived too hard. If it never turns, you may be leaning away from the nose or staring at your feet.
Heel edge, toe edge, flat base
Heel edge
The base tilts up on the toe side and the metal edge under your heels bites the snow. This is the edge most people learn to stop on, and the one most people ride badly for longest.
- Movement
- Lift the toes inside the boot and press the heels down. The ankles close, the knees stay bent, and the hips move down and only slightly back — as if sitting onto a low stool placed directly beneath you, not one behind you — while the chest stays tall and facing across the board.
- Common error
- Folding at the waist instead of the hips. The backside goes out, the shoulders drop toward the snow, and the weight lands behind the tail, so the edge chatters instead of holding.
- Check
- You should be able to lift your toes and still feel even pressure along the whole heel edge, from front foot to back. If only the tail is gripping, you are behind the board.
Toe edge
The base tilts up on the heel side and the edge under your toes bites. It usually feels stronger than heelside because the ankle is a better lever pushing forward than pulling back.
- Movement
- Drive the shins into the front of the boots and press through the balls of the feet. The knees travel forward over the toes, the hips come forward with them, and the body stays stacked over the edge rather than leaning into the hill.
- Common error
- Pushing only the knees in and leaving the hips back. The body folds into a Z-shape, pressure drops off the nose, and the board slips instead of holding.
- Check
- A straight line from your ear through your hip to the working edge means you are stacked. If your backside is trailing behind that line, the hips have not come with the knees.
Flat base
Both edges clear of the snow. This is a moment to pass through between turns, not a place to sit — a flat board on a slope goes wherever the terrain sends it.
- Movement
- The board returns to level under a quiet, centred body as one turn releases and before the next one is guided. On a slope it lasts a fraction of a second.
- Common error
- Riding flat and straight on anything steep enough to accelerate, which is how beginners find themselves going faster than they can steer.
- Check
- If a flat base ever feels like a resting position, the slope is too steep for the edge control you have right now. Move somewhere gentler.
Build two reliable brakes
Side-slipping teaches the part of the turn that controls speed. Across the slope on heel edge, soften the edge angle slightly to slide and increase it smoothly to slow. Repeat on toe edge with shins supported by the boot tongues and hips over the board—not folded at the waist.
Next, let one end of the board drift slightly downhill, move diagonally, then return to a stop. Alternating directions without changing edge creates a falling leaf. It is not the final technique, but it gives you an escape route when a full turn feels too ambitious.
- Heel side: knees soft, chest quiet, toes gently lifted
- Toe side: knees move towards the snow, hips stay over the board
- Pressure changes should feel gradual, not like an emergency handbrake
- Do not practise directly below another learner
Related lesson
Watch the movement.
This clip matches the guide. YouTube loads only when you press play.

First day / First day / 12:54
How to snowboard: the basics for your first day
By REI
First day / Chairlifts / 23:13
Snowboard with one foot and get off chairlifts
By Malcolm MooreTurn the leaf into linked S-turns
A linked turn is two controlled J-turns joined by a calm edge release. Finish the first arc across the hill, look into open space, soften the old edge and allow the board to point downhill briefly. Then build the new edge and complete the next arc across the slope.
Expect the board to accelerate while it points down the fall line. The answer is a rounder finish, not throwing your shoulders and tail sideways. Start with two turns, stop, breathe and repeat. When both directions feel predictable, extend the sequence.
- Finish one turn before starting the next
- Let the board pass through flat; do not jump between edges
- Keep the hands relaxed and visible
- Return to J-turns if one side keeps disappearing
Treat the chairlift as its own skill
The unload ramp combines one-foot gliding, other people and a deadline. Practise the position first. At the top, point the board straight, place the rear foot between the bindings, stand as the chair reaches the unload point and glide clear before trying to turn.
Tell the lift operator you are new and follow local instructions. If you fall, move out of the unload area as soon as it is safe. There is no prize for making the first chairlift happen early; a beginner conveyor or surface lift may give you far more useful snow time.
Know when the mountain has taken enough
A first day often ends with burning legs, wet gloves and slower decisions. That is when riders lean back, stare at the nose and catch edges they avoided all morning. Take breaks before your technique unravels, eat, drink and call the session while you still own the stop.
Move to easier terrain whenever you cannot stop where you choose, repeatedly catch the downhill edge, lose awareness of uphill traffic or feel pain rather than ordinary fatigue. Tomorrow’s confidence is worth more than one chaotic final lap.
Profile-led equipment
Protection for a first day
Rent the board; the four things worth having are your own. Fit beats brand on all of them.
- Head protection · Start hereOptional profile examplesSee market examples
Snow-sports helmet
Designed for snow-sports fit, coverage and cold-weather use.
Check: It should sit level, move with the scalp and pair with goggles without a large gap. - Impact protection · Useful nextOptional profile examplesSee market examples
Snowboard wrist guards
A beginner-oriented layer of wrist protection during frequent low-speed falls.
Check: Confirm compatibility under your gloves and follow the guard maker’s sizing guidance. - Impact protection · Optional progressionOptional profile examplesSee market examples
Impact shorts
Adds padding around hips and tailbone for learning days and park progression.
Check: Make sure padding stays in place in a squat and does not restrict circulation. - Vision · Start hereOptional profile examplesSee market examples
Snow goggles + low-light lens
Protects the eyes and keeps terrain features readable in wind, snow and flat light.
Check: Test with your helmet and choose a lens for the conditions you ride most.