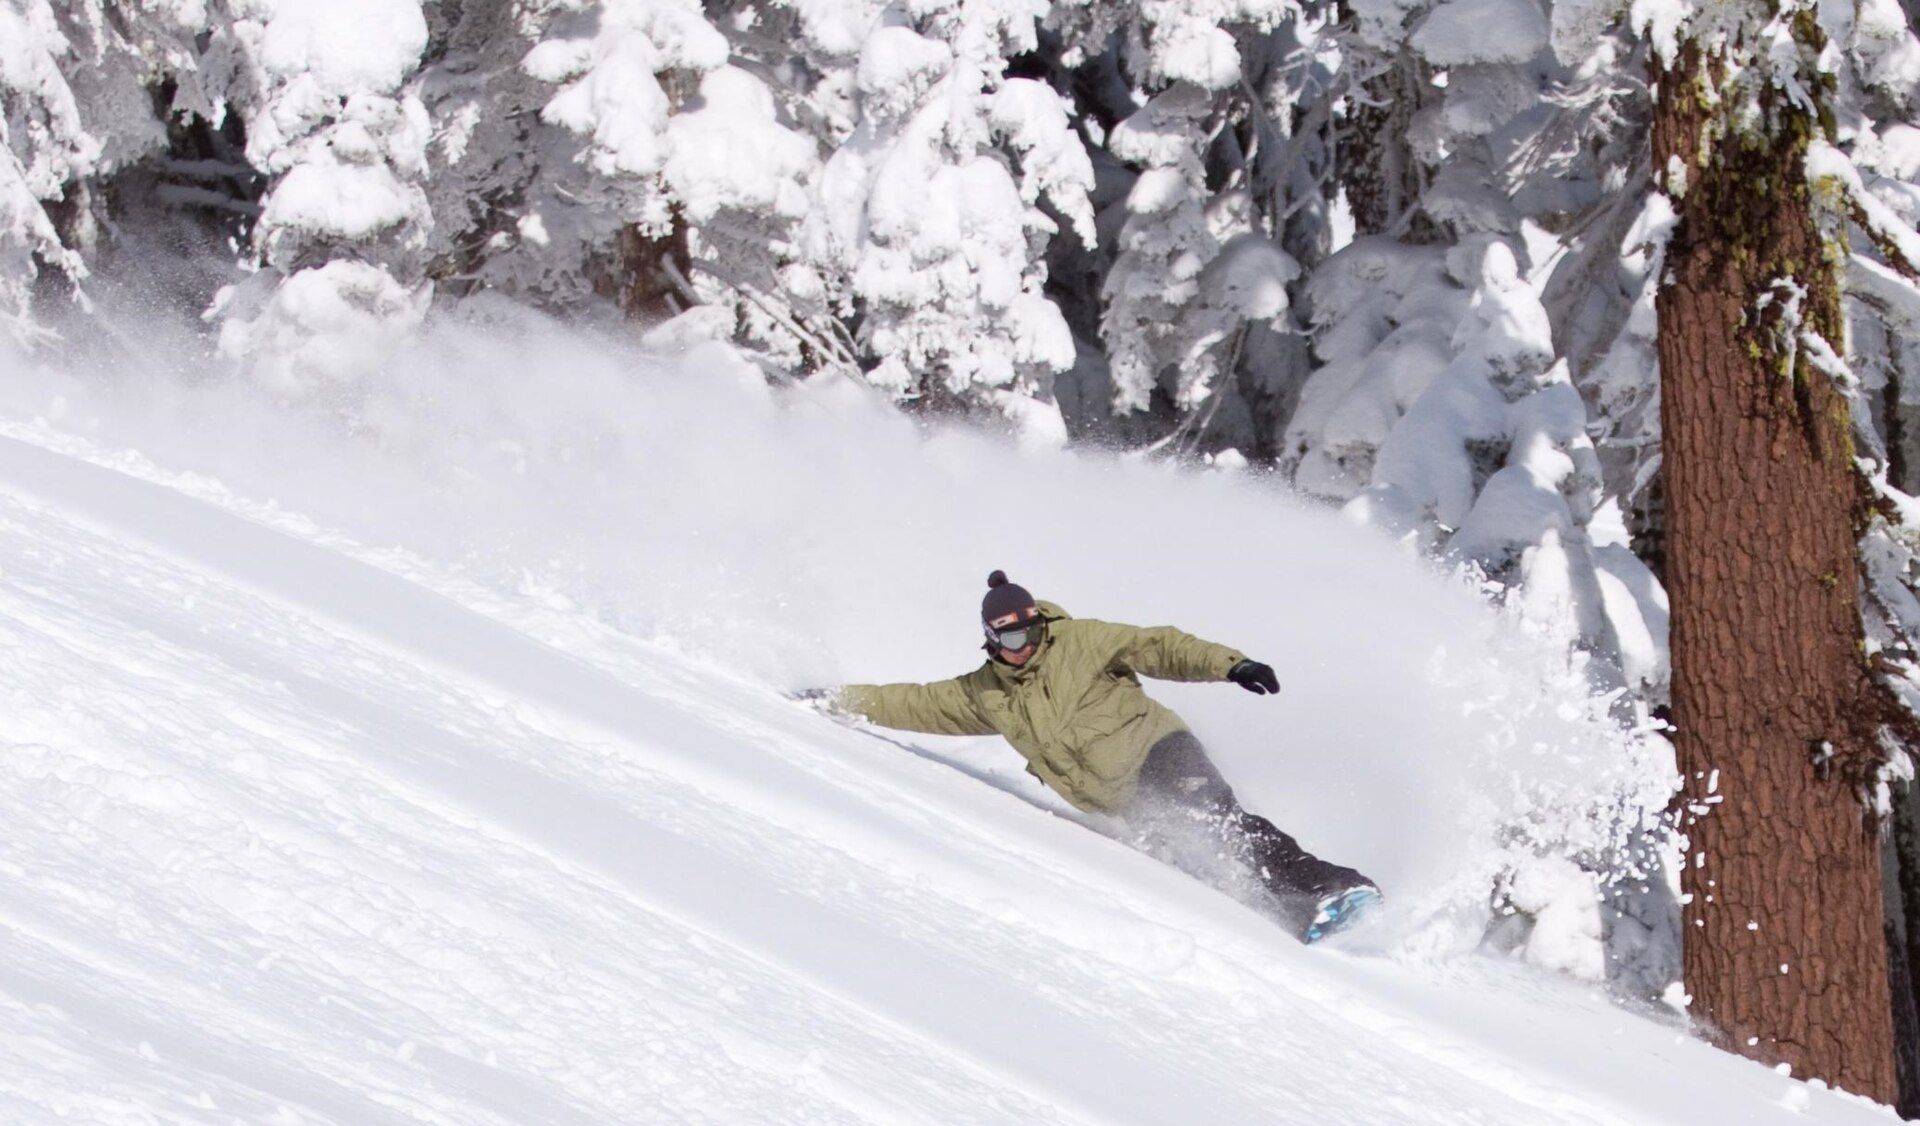
Flat ground first. Everything here is learned at walking pace before it belongs on a run.
Photo: Ripley119LicenseGround tricks, in the order they actually build
Ground tricks are the cheapest way to get better at snowboarding. No park, no speed, no consequence — just a flat piece of snow and the board doing things you did not know it did.
What ground tricks are for
A ground trick is anything you do with the board on or just above the snow, without a jump, a rail or any real speed. Ollies, presses, butters and flat spins.
They are worth learning even if you never want to ride a park, because every one of them teaches something that turns up in ordinary riding. A press teaches you what the board does when you load one end of it. An ollie teaches you to move fore and aft deliberately instead of by accident. A flat 180 teaches you to ride switch, which is the fastest way to expose every asymmetry in your riding.
They are also the only part of snowboarding you can practise at almost no risk. The consequence of getting a nose press wrong on flat snow at walking pace is that you put a hand down.
Before you start
Two prerequisites, and they are not negotiable.
First: you can stop reliably on both edges and link turns without thinking about it. Ground tricks pull your attention away from where you are going, and you need the underlying riding to be automatic before you can afford that.
Second, specifically for anything that rotates: you can ride switch. Not well — just competently enough to stop and make a few turns with your other foot forward. A 180 lands you switch by definition. If riding switch is a crisis, the landing is a crisis, and you have turned a flat-ground exercise into a fall at speed.
Where to practise matters too. Flat, soft, uncrowded snow at walking pace. Not on a run where people are coming past. Not in a lift queue. Not in the middle of a slope where you become an obstacle nobody can see.
- Reliable stops on both edges, and linked turns without thinking
- Competent switch riding before anything that rotates
- Flat, soft, uncrowded snow — not a run, not a queue
- Helmet on. Wrist guards for the first weeks of this too.
The order, and why it is this order
Balanced base, then ollie, then presses, then flat 180, then butter 180, then ground 360. Each one is built from the one before it, and skipping produces the same fault every time: people try to rotate before they can load the board, and end up throwing their shoulders instead.
The phrase worth keeping is press before you spin, pop before you rotate. Pressing teaches your feet to load one end of the board deliberately. Popping teaches your legs to make the board light on command. A spin is those two things plus rotation — and rotation is the easy part once the first two are automatic.
The visual technique atlas on the Learn index shows all seven as three-frame sequences. Read the frames, then do them at walking pace.
Press before you spin.
Pop before you rotate.
Build this order on nearly flat snow: balanced base → ollie → presses → 180 → butter 180 → 360 ground spin. Learn switch stops and turns before making 180s part of a run.
Ollie
Load the tail and spring from it so the nose rises first, then level the board in the air.
- Think
- Compress, shift to the tail, snap, then bring both knees up together.
- Practise
- Flat snow at walking speed
Nollie
The nose-loaded mirror of an ollie: spring from the front of the board and level before landing.
- Think
- Move over the nose without folding at the waist; push, lift and land centred.
- Practise
- Flat snow at walking speed
Nose press
Balance over the front leg while flexing the board so the tail becomes light.
- Think
- Stack the hips over the front binding and keep the shoulders quiet.
- Practise
- Flat, soft snow
Tail press
Balance over the rear leg while flexing the tail and keeping the nose controlled.
- Think
- Sit over the rear binding, not behind the board, and keep the core braced.
- Practise
- Flat, soft snow
Butter 180
Use a nose or tail press as the pivot point, then unwind into the opposite riding direction.
- Think
- Wind gently, press first, rotate the board under a stable upper body, then release.
- Practise
- Very gentle, uncrowded slope
Flat-ground 180
Pop from a flat base, rotate half a turn and land riding switch.
- Think
- Check uphill, pre-wind only slightly, pop before rotating and spot the landing.
- Practise
- Flat, uncrowded snow
360 ground spin
Rotate one full turn while the board stays low, using controlled edge releases and a centred stance.
- Think
- Break it into two calm 180s; keep the head leading and avoid catching an uphill edge.
- Practise
- Flat, uncrowded snow
The ollie
The ollie is the foundation, and almost everybody learns it slightly wrong first — as a two-footed jump.
It is not a jump. Ride flat, compress by bending both knees, shift your weight back over the tail, and then snap off the tail so the nose comes up first. As the tail leaves the snow, bring both knees up together to level the board out in the air. The order is: load the tail, snap, level.
The common error is jumping straight up off both feet at once. It gets you a few centimetres and teaches nothing. The second most common is throwing the shoulders up, which unweights nothing and pitches you forward on landing.
Practise it moving at walking pace on flat snow before you try it anywhere with a gradient. When it works you will feel the board load and release under your back foot, and the height will surprise you.
Nose and tail presses
A press is the board bent under you with one end lifted, held for a moment. Tail press first — it is more stable and the fall is behind you where you can sit down.
The instruction that makes it work is to stack over the binding, not lean behind the board. Move your hips over your rear binding so your weight is genuinely on top of it, keep your core braced and your shoulders quiet, and let the board flex. If you lean back instead, the board slides out from under you and you land on your back — which is exactly what the press is teaching you not to do.
The nose press is the same movement forwards, and it is harder because falling forwards is less comfortable and the front leg has less to push against. Ride slowly, keep the shoulders level, and hold it for a second rather than trying to hold it for a run.
Presses transfer straight into everyday riding. The feeling of consciously loading one end of the board is the same feeling you use to get a nose to plane up in powder or to hold pressure through the end of a turn.
Related lesson
Watch the movement.
This clip matches the guide. YouTube loads only when you press play.

Beginner / Body position / 11:03
Correct snowboard posture with one simple drill
By Malcolm Moore
Intermediate / Edge control / 4:15
How to Ride Difficult Flat & Narrow Runs on your Snowboard
By SnowboardProCampThe flat 180 and the butter 180
These are the same rotation reached two different ways, and it is worth doing both.
The flat 180 is a pop and a half-turn. Set your shoulders slightly pre-wound in the direction you want to go, pop off a flat base, rotate the board underneath a quiet upper body, and land riding switch. Check uphill before you commit — you are about to be facing the other way with your back to traffic for a moment.
The butter 180 uses a press as the pivot instead of a pop. Wind gently, press the nose or tail until the other end is light, rotate the board around that point, and unwind into switch. It is slower, smoother and much less committing, which makes it the friendlier of the two to learn.
The universal error in both is spinning with the shoulders. If the upper body leads violently, the board follows late and you land off-axis. Wind a little, rotate the board under a stable torso, and let the shoulders arrive last.
Land switch and then actually ride switch for a bit. Bailing straight back to your normal stance defeats the purpose, and the switch riding is most of the value.
The ground 360
A full rotation with the board staying low. This one is genuinely advanced and it is worth waiting for.
The way in is to stop thinking of it as a 360 and think of it as two calm 180s. Look where you are going, lead with the head into the first half, arrive in a stable switch position, then continue into the second half. Riders who try to spin the whole thing in one movement almost always over-rotate the upper body and catch an uphill edge on the way round.
Keep the board flat through the rotation. Catching an edge halfway through a spin is the one fall in this whole progression that can actually hurt, because you are rotating and your feet stop while you do not.
This is the point where an instructor becomes worth the money. Ground spins, retraction timing and dolphin turns are all things you can practise alone badly for a long time, or learn properly in an afternoon with someone watching.
Where this stops being flat ground
Everything above is learned at walking pace on flat snow. It does not stay there, and that transition is where people get hurt.
Take one idea onto a slope at a time. An ollie on a green run is a different thing to an ollie on flat snow — you have speed, a gradient and other people. A 180 in the middle of a run means you are travelling switch on terrain where you may not be comfortable switch.
The rule that keeps this safe is the same as everywhere else on the mountain: you have to be able to stop or avoid people, and you must not become an obstacle. If a trick means you cannot see what is coming or cannot stop, the slope is wrong for it. Take it back to flat ground.
And stop before you are tired. Fatigue rewrites technique, and the last hour of a long day is where the good habits you spent all afternoon building quietly come apart.
Profile-led equipment
Equipment profiles for this guide
Start with the fit, flex or compatibility you need. These links show the market; they are not reviews or winners.
- Head protection · Start hereOptional profile examplesSee market examples
Snow-sports helmet
Designed for snow-sports fit, coverage and cold-weather use.
Check: It should sit level, move with the scalp and pair with goggles without a large gap. - Impact protection · Useful nextOptional profile examplesSee market examples
Snowboard wrist guards
A beginner-oriented layer of wrist protection during frequent low-speed falls.
Check: Confirm compatibility under your gloves and follow the guard maker’s sizing guidance. - Impact protection · Optional progressionOptional profile examplesSee market examples
Impact shorts
Adds padding around hips and tailbone for learning days and park progression.
Check: Make sure padding stays in place in a squat and does not restrict circulation.