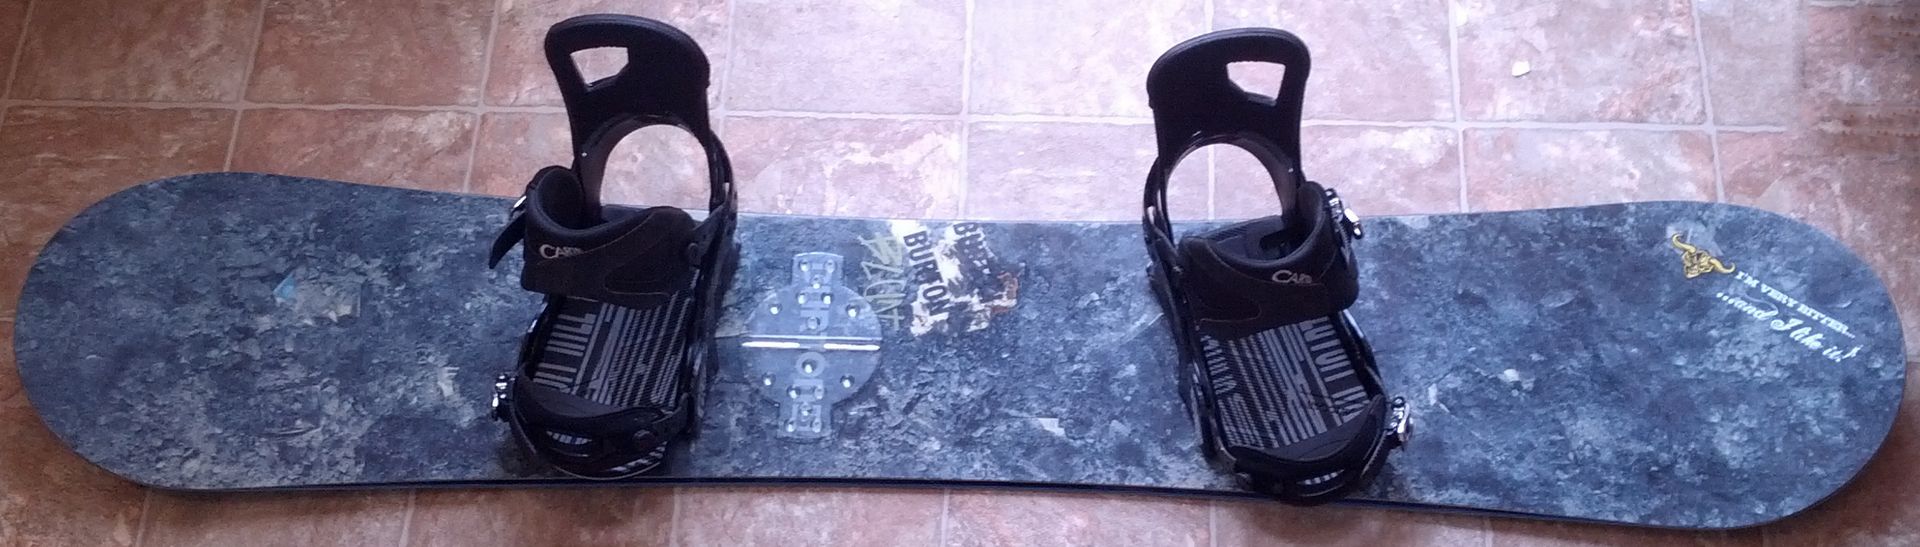
A binding is an interface: boot fit, board compatibility, stance and hardware condition all matter.
Photo: BurtonbluntsnowboardLicenseSnowboard bindings: straps, fast entry and stance
Bindings hold the boot, transfer movement and shape how quickly a board responds. Convenience matters—but fit and compatibility still decide the setup.
Traditional two-strap bindings
The common layout uses an ankle strap, toe strap, ratchets, baseplate, heel cup, footbed and highback. It works with conventional soft snowboard boots and offers broad choice from brands such as Union, Burton, Rome, Bent Metal, Flux, Salomon and Nitro.
Center the boot, confirm the toe strap sits as designed and make sure the ankle strap holds without a pressure ridge.
Fit drawing / board width
Balance the footprint beneath the bindings.
The waist number is only a shortcut. The useful width is under each mounted foot.Large toe and heel overhang can touch snow before the edge angle you intend to use.
A little overhang is normal. Centre the actual boot and binding so toe and heel margins are useful on both feet.
Unneeded width asks for more movement and leverage to change edges. “Wide” is useful only when the footprint needs it.
Fast-entry systems are not one category
Burton Step On uses compatible boots that connect directly to Step On bindings. K2 Clicker X HB uses its own compatible boot-to-binding interface. Nidecker Supermatic uses a triggered highback and preset straps with most conventional boots. Flow rear-entry bindings recline the highback while retaining straps over the boot.
CLEW and other convenience systems take different mechanical approaches. Read current instructions, recalls and compatibility tables for the exact model and year.
Supermatic: what changes and what does not
Nidecker OG Supermatic combines normal toe and ankle straps with a reclining automatic highback and heel pedal. Once the straps are set, the rider can step down and back to engage the mechanism; the release lever opens it. The straps remain usable as conventional entry when terrain or conditions make automatic entry awkward.
It accepts conventional soft snowboard boots within the published size range, so it is not a proprietary-boot ecosystem like Burton Step On. It is still a real binding with a specific chassis size, mount interface, weight and low points: fit the boot, mount it correctly and check board clearance just as you would with a two-strap binding.
Match flex and size
A softer binding allows more movement and suits many beginners and freestyle setups. Medium is the broad all-mountain choice. Stiffer bindings transfer input faster for speed, carving and bigger landings. Match the binding size to the actual boot, not just the printed shoe size.
Boot overhang should be balanced enough to avoid obvious toe or heel drag while preserving useful leverage.
Related lesson
Watch the movement.
This clip matches the guide. YouTube loads only when you press play.

Setup / Binding setup / 2:46
HOW TO CHOOSE YOUR SNOWBOARD BINDINGS
By Nidecker Snowboards
Setup / Binding setup / 2:35
Snowboarding: How to Set Up Bindings
By REIMounting systems and stance
Most current boards use 2×4 inserts; Burton boards commonly use The Channel. Binding discs or interfaces must support the board’s pattern. Set the lead foot, width and angles, center the boot, then tighten hardware in the maker’s sequence.
Start neutral, photograph the setup and change one variable at a time. Forward lean can add heelside response, but more is not automatically better.
Understand the geometry under each foot
A board’s waist is not its width beneath the bindings. Stance width and setback move each foot along the sidecut, and binding angle changes how much of the boot and binding project across the board. Positive angles point toward the nose; negative angles point toward the tail; front foot is listed first for both regular and goofy riders.
A larger angle usually shortens cross-board boot projection, but it also changes joint alignment and leverage. Boot toe rise, heel shape, binding chassis and snow surface affect real contact, so a calculation is a screen—not a guarantee.
The five-minute safety check
Before riding, check mounting screws, straps, ladders, buckles, highbacks, connection points and the board-retention leash required by the system or resort. If anything is cracked, loose or behaving differently, stop and have it inspected.
Profile-led equipment
Equipment profiles for this guide
Start with the fit, flex or compatibility you need. These links show the market; they are not reviews or winners.
- Compatibility · Useful nextOptional profile examplesSee market examples
Snowboard bindings
Transfers boot movement into the board and holds your chosen stance.
Check: Match boot size, mounting system and board width; center toe and heel overhang. - On-hill adjustment · Start hereOptional profile examplesSee market examples
Snowboard multi-tool
Handles common binding checks and small stance adjustments during a trip.
Check: Confirm the bits match your binding hardware; never overtighten or improvise fasteners. - Lift exits · Optional progressionOptional profile examplesSee market examples
Stomp pad
Adds traction for the unstrapped rear foot while skating and unloading.
Check: Choose a low-profile shape and install only on a clean board using its instructions.